Share
Pin
Tweet
Send
Share
Send
Hello, friends! I want to tell you how you can create something useful using your old mobile phone. Namely, it will be the simplest GSM alarm system with which you can remotely control various objects, such as a summer residence or apartment.

What do we need
- any mobile phone with a keypad;
- soldering iron;
- two screws;
- unused bank plastic card;
- clothespin;
- two neodymium magnets in the form of tablets with a diameter of about 10 mm;
- A rectangular plate made of plastic or plywood measuring approximately 50x100 mm.
You will also need a sharp knife (preferably a boot type), sandpaper, glue, a small gas burner (you can use a lighter).
Getting to work
So, let's begin. The first thing to do is enable the speed dial feature on your phone. Next, we assign a dial to a key to which we want to receive notifications. I decided to use the "2" button.

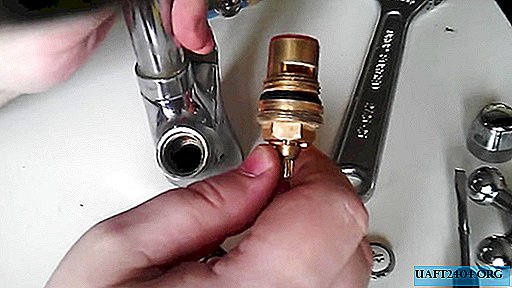
After that, we proceed to disassemble the phone.

We need to get to the button circuit board.

There are round contact plates on the board, each of which corresponds to a specific phone button. On top of the board with the plates is covered with a polymer film, in which elastic silicone elements are integrated, playing the role of springs when the buttons are pressed.

In each silicone spring there is a metallized pad, which, when pressed, closes the contact plates.
Carefully remove the film from the board. Looking ahead, I’ll say that we have to solder the pads. Therefore, it will be useful to wipe with a napkin dipped in the solvent the pad of the speed dial button that we designated. In my case, as I said, this is a deuce.
Now we solder two wires to the contacts of our speed dial button.

At my disposal was a copper enameled winding wire, 0.2 mm in diameter. The length of the wires should be such that their free ends extend beyond the phone case after it is assembled by 10 - 15 cm. As regards the wire, I can say the following. It can be anything, the main thing is that its thickness does not interfere with assembling the phone after soldering.
Before soldering, remove the insulation from the tip of the wire. If this is an enamel wire, like mine, this can be done with a sandpaper. But first, it’s better to try to irradiate the tip without removing the insulation. The varnish with which the wire is coated under the influence of the temperature of the soldering iron can melt and the tip of the wire is covered with a thin layer of tin, which is required. If it does not work out, you will have to strip the insulation. This must be done carefully, a wire of such thickness as mine can be very easily torn.
Having finished with soldering, we paste the film, which we removed from the board, into place. But before that, we remove all conductive plates from it, they will no longer be needed.


Now we collect the phone, insert a working SIM card and a battery into it. Two wires, as already mentioned, should go out.


The ends of the wires are cleaned from insulation (I did this with a small gas burner).

We wind bare sections of wires onto screws, screws or screws. I used two screws with a threaded diameter of about 4 mm.
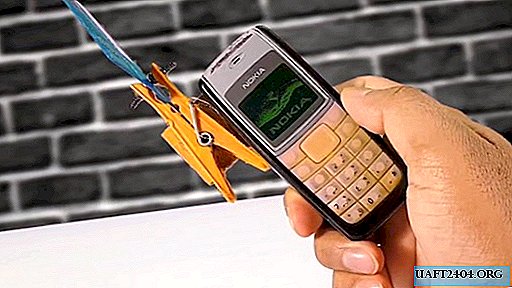
Now we get our clothespin. In both its wings, we drill holes along the diameter of the selected screws.

We insert the screws into the holes so that in the released state the clothespin presses their heads against each other, providing good electrical contact (the screw heads will not interfere with sanding for this). On the reverse side, the screws must be secured with nuts or glue. I used hot glue.

The resulting system must be mounted on a plastic or plywood plate. I put the phone on a double-sided tape, and stuck a clothespin.


The glue should not prevent the clothespin from opening and contracting.

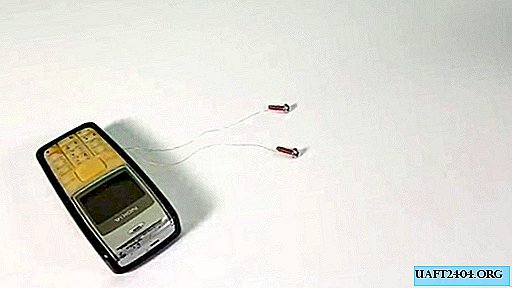
If you now insert a plastic card between the screws, then turn on the phone and remove the card from the clothespin, a call to the number you select will follow.


Thus, we received a simple burglar alarm, which can be used in various ways.
I suggest using a system for signaling when opening the front door of a house or apartment. To do this, cut out a strip from a plastic card, the width of which is slightly larger than the diameter of the magnets.

Having warmed the middle of the strip with a burner or a lighter, we bend it 90 degrees. One of the sides of the resulting corner will serve as an insulating gasket between the contact screws in the clothespin, and we attach one magnet to the second side. This side will face the door jamb.

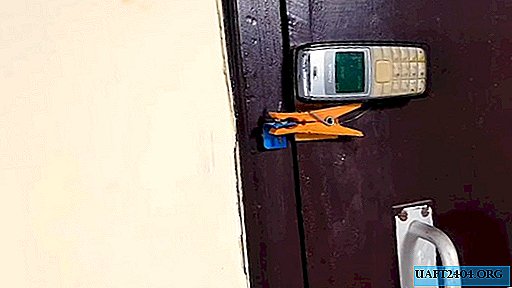
Now glue the plate with the phone and clothespin with double-sided tape to the door. We insert a curved strip of plastic with a magnet into the clothespin, install a second magnet on the glued magnet and apply glue to its outer surface.


Having closed the door, glue the second magnet to the fixed part of the door frame or the jamb.

It should turn out the following. When the door is closed, a piece of the card is clamped by a clothespin, providing insulation between the screws. When you open the door, the clothespin with the phone goes off with the door, and a strip of plastic, pressed with strong magnets to the door frame, the jamb or the wall, remains in place. A clothespin tightens the screw heads, and the phone dials the set number.


Thus, you will receive a call on your mobile when someone opens your front door. By the way, if you answer this call, you will hear what is happening there.
To deactivate the system, you must go inside, disconnect the plastic corner held by the magnet and insert it into the clothespin. The contact of the call button will be disconnected.

Conclusion
The installation location of the telephone with clothespin, as well as the size and shape of the insulating plate, depend on the configuration of your door. Therefore, in each case, these issues must be addressed individually.
Share
Pin
Tweet
Send
Share
Send