Share
Pin
Tweet
Send
Share
Send
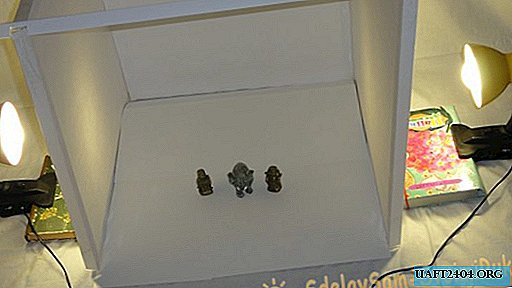
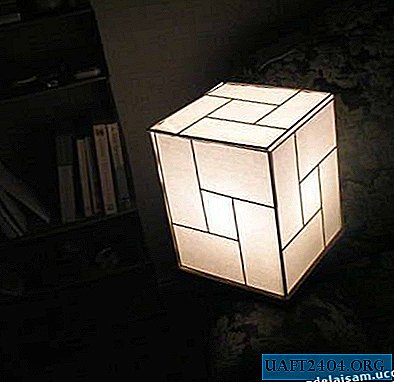
I personally chose the same cheap, but a bit more troublesome method, because in my cramped apartment with free space it is very tight and I need this whole structure to be easily dismantled and hidden somewhere on the mezzanine. Size also made it bigger - I have absolutely nowhere to take pictures, so it will come in handy when you need to shoot larger objects (well, such as vases with flowers or needlework).
Will need

As for the costs, my light cube cost me $ 8:
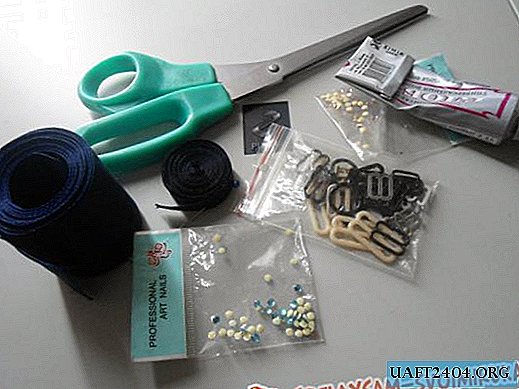
- 2 standard Whatman sheets - $ 1.5;
- 2 table lamps with clothespins - $ 2.5;
- 2 LED bulbs of 10 W each (lights give as 75 W) - $ 2.5;
- 3 PVC corners - $ 1.5;
- glue, stationery clamps and scotch tape - this was already at home.

Of the tools you will need only scissors, a joiner square, a ruler with a simple pencil and small scissors for sewing. And when all this will be spread out at arm's length, you can start.
Making lightcube

Measure out 50 cm lengths on the PVC corner - they will need 12 pieces to make "stiffeners" for whatman paper. Carefully cut these pieces with ordinary scissors and immediately process the edges, cutting off the ends with sewing scissors at an angle (by eye) of about 45 degrees, to get something like when joining the planks in the picture frame.

Now we lay out and align the paper, draw the sides with the same length (50 cm) using a joiner's square and cut out these parts. For the convenience of subsequent pasting, they can be smoothed out with an iron, but I just crushed these squares with a cutting board and left for a while so that they did not twist so much.

Back to our PVC pieces. We take 4 pieces in succession and form a square out of them, checking its correctness with the same joiner's square. We lubricate the contact points with glue and fasten them with stationery clamps for reliability. I used Moment-1 glue because it dries directly under the brush, but it was better to take some kind of transparent or white so that no yellow strokes remained on the corners. However, this is absolutely not critical, but in the end I got three frames-squares.

When everything is ready, we begin to collect. We attach whatman paper to the frames with a narrow adhesive tape on the front side. Then we turn it over and go around the junction of the corner and the paper with already wide adhesive tape - this way it will stay better and will not create a shadow strip when the light is scattered.

Now we lay out the finished frames so that the sidewalls of the corners can be grabbed with office clips. We make the distance the same, mark the places for clamps with a pencil, and then make cuts for these risks. Thanks to the notches, the frames will easily take the shape of the letter “P” when you need to remove it. In principle, you can do without clamps, but these metal clothespins actually make the structure collapsible: removed them - the frames are disconnected, you can remove the frames on the cabinet.

While the paper was leveled, and our “frames” dried up, I managed to make a “lock” from the rest of the PVC corner, which would keep the sides of the light tube in a standing position. I measured the base 50 cm in the middle and added 2 cm to both sides of them. I marked it with a pencil, and then cut out the “grooves” with centimeter depth with small scissors - the holder bar will sit on the upper ends of the opposite frames with these grooves.

That's all. We install our design in a place convenient for shooting. Despite the fact that this "convenient place" I found on the floor, usually all this is done on the table. But to understand the principle itself, perhaps, it will do.

The bottom surface of the resulting box is better covered with a strip of paper or a spotless white cloth, but since I had neither one nor the other, I just laid several sheets of cardboard on the bottom. It remains to send the lamp shades of both lamps to the right place and you can take pictures. As for me, everything worked perfectly. Have a nice shot!
Share
Pin
Tweet
Send
Share
Send

