Share
Pin
Tweet
Send
Share
Send
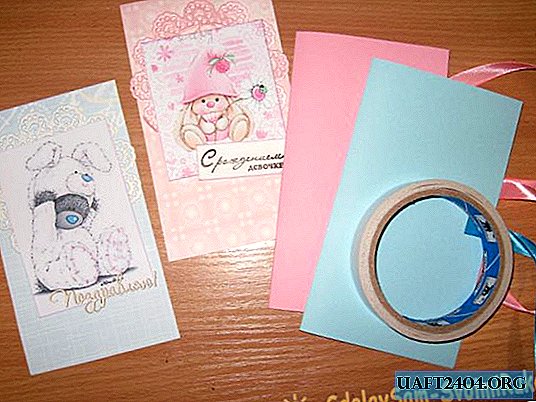
So, for the manufacture we need to take:
- Pink and blue cardboard on sheet A4;
- Accordingly, scrapbooking paper is pink and blue;
- Pictures with a pink bunny and a teddy bear;
- Cut down small butterflies and delicate napkins from pearl white and pink paper;
- Pink and white pearl beads of different sizes;
- Stamp and ink for him "From the birth of a daughter";
- Congratulations Chipboard;
- Satin ribbons pink and blue 12 mm wide "
- Lighter for burning;
- Ribbon with roses light pink;
- Flowers knitted blue and pink;
- Glue stick;
- Double-sided tape;
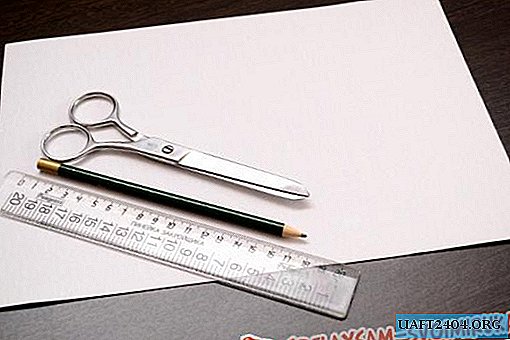
- Ruler, simple pencil and scissors.

Let's get started. We take cardboard, we unfold it horizontally, measure 17 cm in height, and divide the width into parts of 10 cm, 10 cm and 9.6 cm.

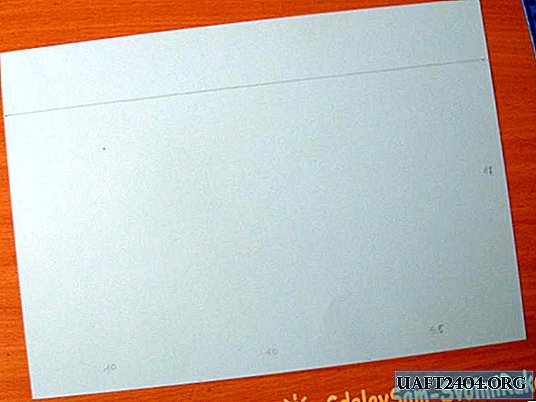
We draw vertical lines for bends, cut off the excess piece of paper from above. Then butterflies can be punched out of it, if there is a hole punch.


To the bottom right, we retreat 7 cm up and connect to the corner of the inner side of the envelope, draw a line and cut it off.


Fold and get the basis for the envelope in blue. Similarly, we make markup and prepare the basis for a pink envelope.


Now we take a scrapbook paper, for each envelope we cut out three elements of the corresponding sizes, as in the photo.


We cut two pieces of 17-18 cm long from satin ribbons, cauterize the edges and glue in the center of each base of our envelopes into pieces of double-sided tape.


The inside and back of scrapbook paper can also be glued directly to double-sided tape. But we will decorate the outer parts with pictures, inscriptions and napkins.


We stamp the inscription on a white sheet and cut it out, we tint its edges. We glue on scrapbook paper first on a napkin, then on the inscription.


Sew pictures and inscription on a typewriter. Now these scrap parts are also glued to the basics. We sew the outer parts separately, and the inner and back ones together, so we get inside the pockets for money.
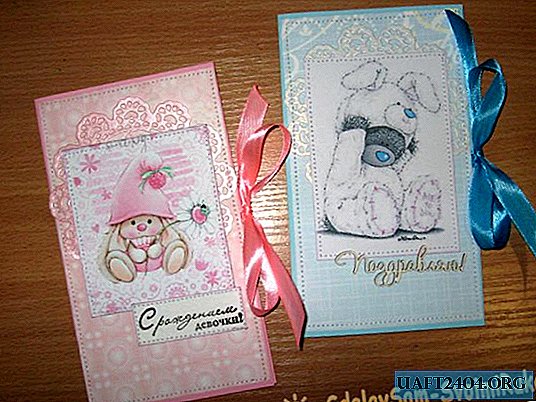
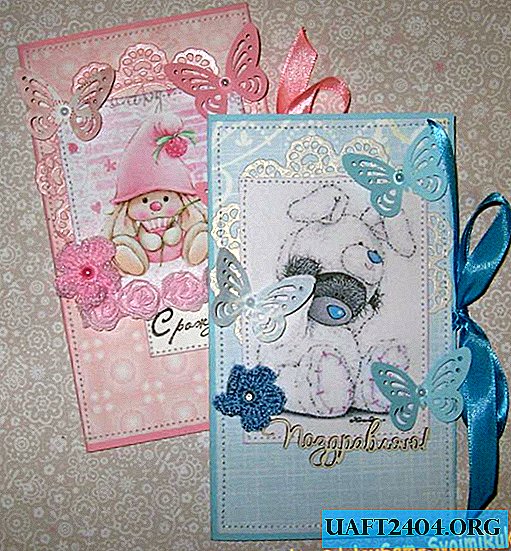
It remains only to decorate our envelopes. We glue butterflies in the center of a half bead. Then a flower with a half bead and done. We tie bows and you can congratulate happy parents. Thank you and see you soon!


Share
Pin
Tweet
Send
Share
Send

