Share
Pin
Tweet
Send
Share
Send
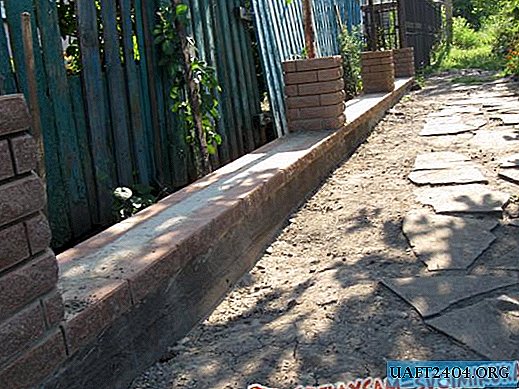
So, the construction of this fence begins with pouring the foundation. The depth of the foundation should be from 50 to 80 cm. It is important that the foundation is poured as evenly as possible, so that the first row of bricks is easier to lay on the level. To do this, it is necessary to install the formwork as level as possible. At that distance, which is planned to build columns, it is necessary to concrete the pillars. For this, a metal pipe with a diameter of 10 mm is suitable. These pillars should also be level.
After the foundation is poured, and settled for a couple of days, you can start laying brick. In the example shown in the illustration, two colors are combined - red and yellow. First, the laying of the sole of the fence along the edges of the foundation is made of red whole brick with a ragged spoon. The space between these bricks must also be filled with concrete.
Next, you need to start the construction of the fence columns. To do this, you need to calculate approximately the same distance between the columns. In order for the columns to be at the same level, and each row to have the same height, it is necessary to use a fishing line, which is stretched on each new row, from the two extreme columns. To the support column, which was fixed in the foundation inside the column, you need to weld the mortgages every 6 rows of columns. There are 23 rows in total. Therefore, in each column, it will be possible to display three mortgages on each side. In addition, to strengthen the columns, they are recommended to be concreted, filling the void inside the solution.


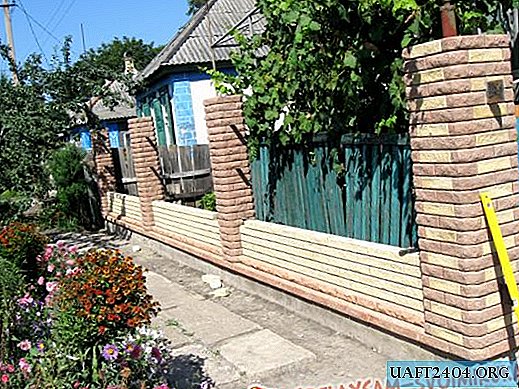
In this case, two types of columns are used. The first type of columns is used in the spans of the fence and consists of 4 red bricks with a semicircle. In addition to them, three more columns are used, between which gates and a gate will be attached. These columns consist of 4 semicircular red bricks and 2 yellow bricks. In these three columns, two mortgages are welded vertically to the column. The distance between them depends on the distance of the hinges on the gate and the gate, which will subsequently be attached to these mortgages. As a rule, gates and wickets are made to order, and you can know in advance the distance between the hinges.


Only after all the columns have been erected, you can begin to order the openings of the fence. The second row of the order also consists of two red whole bricks, which are placed close to each other, creating a step on both sides. From the next row, the ordering of the whole yellow brick begins, which is the main color of the fence. The masonry for the jointing is done using glazing bead.


Every 6 rows of yellow bricks need to fasten the columns with order. To do this, it is necessary to weld wire wire to the mortgages that were welded to the columns with a thickness of not more than the thickness of the seam used under the glazing bead. This wire is laid in the seam between the bricks.


The last row of the fence is laid with red brick to complete the drawing. Thus, the opening of the fence consists of 19 rows of yellow brick and 3 rows of red (2 at the bottom and 1 at the top). Since all the brick used in the manufacture of this fence has a ragged spoon, and therefore it is impossible to check the vertical levelness of the wall with a building level, you can use a plumb line for this.
The completion of the work is the installation of caps on the columns, as well as the installation of the parapet on the order of the fence.


All work is carried out in an ordinary solution: 1 share of cement and 3 shares of sand. When concreting columns, the same proportions of cement and sand are used, but with the addition of two fractions of crushed stone.
In order for the brick not to release salt and always look like new, it can be treated with special acid and varnished, which will allow it to always have a contrasting color.
Share
Pin
Tweet
Send
Share
Send

