Share
Pin
Tweet
Send
Share
Send
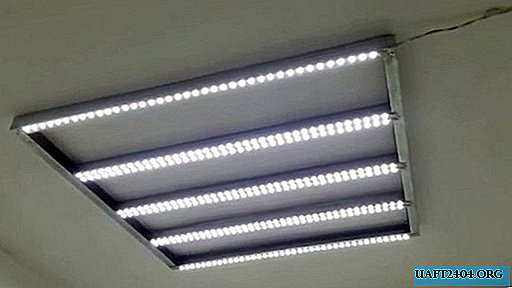
Workrooms and garages require good lighting. You can do it yourself without even having the skills of an electrician. I propose the design of a bright, adjustable ceiling lamp based on LED strip.
Required Materials
To make a lamp you will need:
- steel guide profile for drywall 3 m - 2 pcs.;
- aluminum rivets for the 3.2 mm gun - 14 pcs.;
- LED strip 12V - 6.5 m;
- heat-resistant kapton tape or electrical tape;
- heat-shrink tubing;
- wires
- L-shaped screws with dowels - 4 pcs.;
- power supply from a computer;
- dimmer 12 V.
Lamp assembly

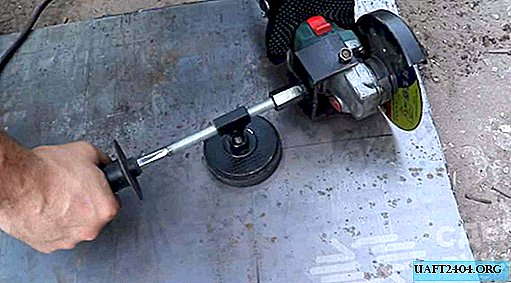
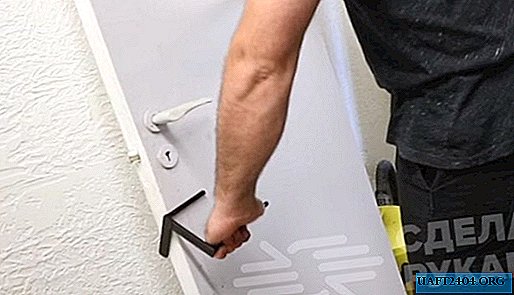
First you need to assemble the lamp frame. You can make it from a solid guide profile. The lamp frame will be square. You need to take a profile and put on it 4 marks from the edge with an interval of 70 cm.

According to the marks on the profile, you need to make even cuts at 90 degrees on the side walls.

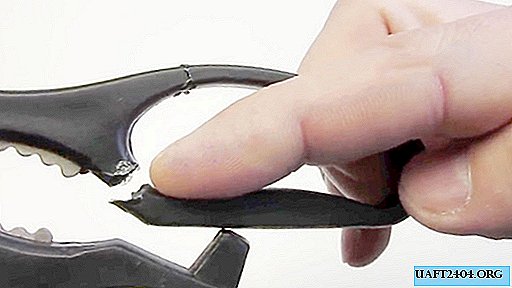
The profile is bent into cuts along the cuts. Since 280 cm of the profile is actually used for the frame, and it has a length of 300 cm, the tail remains. It is necessary to cut 18 cm from it, and leave a small protruding piece and bend it to strengthen the structure.

The frame must be aligned using a square to give it 90 degrees, then fix the angle with a clamp or a clamp. Having drilled 2 holes on the folded sidewalls of the corners, you need to tighten the walls with a pair of rivets. So all 4 corners are strengthened.


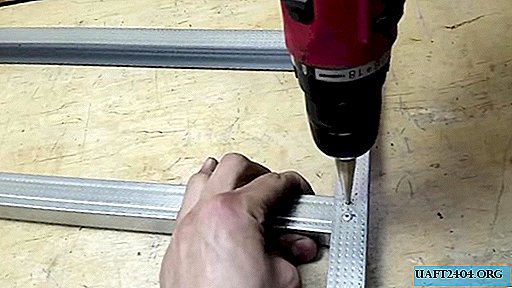
To increase the rigidity of the frame structure and the area for fixing the LEDs, it is necessary to install cross members from the same guide profile. Their length is 69.5 cm. I will use 3 crossbars.

Having exposed them with the same gap, you should drill holes in the profiles and tighten everything with rivets.
The frame is already completely ready, it remains only to carry out the installation of electrical equipment. Before starting it is better to prepare holes for laying wires. All of them are done on the one hand. Two holes are drilled on the cross members and one at adjacent corners. Separately, on the side of the frame, it will be necessary to drill for the supply cable.
Since self-adhesive tape will be used, it is better to degrease the profile for better adhesion.

It is necessary to stick small pieces of heat-resistant kapton adhesive tape in places where the adhesion of the tape and wires will be carried out. In its absence, you can use electrical tape.

Now you need to cut the LED strip into segments. It is cut only in special places, so you will get segments of 65 cm. It will take 10 strips. I paste 2 pieces of tape on each jumper and one on the parallel edge of the frame.

Now you need to prepare 20 pieces of wiring 7 cm long. It is better that half the wires be a different color. Their ends must be freed from isolation. Stripped wiring should be tinned with solder.
Prepared wires need to be soldered to the LED strip on special copper pads. On the opposite of each tape there is a hole in which to wiring.

For safety and reliability, it does not hurt to protect the place of adhesion with hot glue. It does not pass electricity, and also keeps wires from breaking.

Through the side opening in the frame, the main supply cable is fed. To one of his veins you need to solder all the pros from LED strips, and to the second all the cons.
Parallel connection will be applied. It will help maintain a uniform glow of all the ribbons. Places of soldering are protected by a heat-shrink tube suitable for diameter wires.
There is no problem connecting the power cable to the first LED strip. For all other rations, it will be necessary to free the wire from insulation by about 5-7 mm. After soldering, the protruding wires are laid in the profile, so the design looks neat.
After assembly, it is advisable to check the power wires as between themselves, and the short to the housing, using a multimeter in the continuity mode.
On the free end of the power cable, it is best to solder the power connector. I used T-Plug. The joint location is also important to protect with heat shrink insulation.

Now it remains only to connect the wires to a 12V power source. For this, a block from an old computer is suitable. It is very reliable, and is often sold in computer repair shops for nothing.
Before choosing a unit, you need to calculate the total current consumption of the lamp. In my case, it took 6.5 m of tape, which in total consume 2 amperes. The block used by me gives out 18 amperes, therefore it will be enough for 9 such lamps.
Now it is necessary to fix 4 L-screws in the ceiling along the perimeter of the fixture fastening into the pre-hammered dowels. The frame is applied to the ceiling and the tails of the screws rotate.

The wires for powering the lamp can be connected to the unit directly or through a dimmer, which I did.

The resulting lamp may not look very beautiful, but it is inexpensive, consumes little energy, completely safe, because it works from 12 volts, and most importantly it shines very brightly and can be adjusted. I installed 8 such lamps in the workshop right away, powering them from one computer unit.

Share
Pin
Tweet
Send
Share
Send