Share
Pin
Tweet
Send
Share
Send
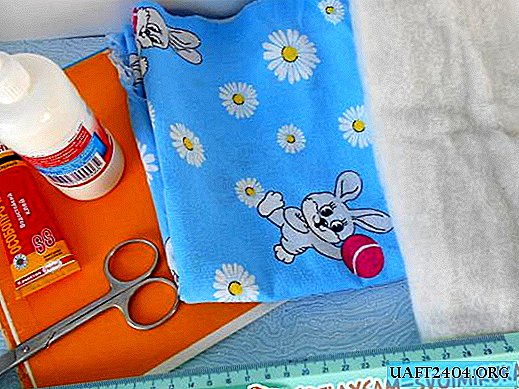
We will prepare our cardboard, that is, free the covers from all unnecessary layers. Size can be any. The main thing is to cut the correct inner window. We will do it on one of the cardboards. The easiest way is to attach and circle the photo in the center. Then add 5 millimeters inside the frame and cut a hole. We do not throw out the inner cut-out part, it will serve us as a leg.


The second cardboard and the future leg must be glued with our paper or wallpaper using PVA glue. On the one hand, the wall must be glued with an overlap so that our outer sides look neat.


While our back wall dries, we proceed to the design of the front side. To do this, glue on the frame pieces of padding polyester, allow them to dry. Try on the frame on the fabric and cut the desired size. We put the frame synthetic winterizer down on the fabric, wrap the edges and, pulling, glue along the perimeter. Corners need to be glued especially carefully so that they do not bristle on the front side.

Next, make an X-shaped incision in the center and glue the corners neatly back.


Our frame is almost ready, it remains to attach the leg to the back. It is better to do this with quick-drying glue. After it dries, we connect the two halves together, gluing all sides except the upper side. Through this hole we will insert a photograph into it.


You can decorate the frame with ribbons, beads or bows, at your discretion.
Share
Pin
Tweet
Send
Share
Send

