In this review, the author shows a way to decorate the walls under the "burlap" with his own hands. The work is simple and easy, and the material itself is inexpensive. In general, you can try!
First of all, primed primed putty walls. This will require a primer and a roller.
After the putty dries, the author proceeds to knead the modeling mass. This will require finishing putty, water and PVA glue for elasticity.

The main stages of work
We apply the prepared solution to the wall in vertical stripes in a uniform layer.

Then, using a brush, the author makes vertical furrows on the surface. It is important to try to brush evenly so that there are no "waves".

After the first layer has dried, we apply the second layer of the modeling mass, but already in the horizontal direction. It is also advisable to apply the layer in stripes.

At the next stage, using a brush, we again make furrows on the surface, but as you might have guessed, they are horizontal.

Then, after the second layer of putty has dried, you need to walk along the surface with an emery cloth, removing unevenness and tubercles.

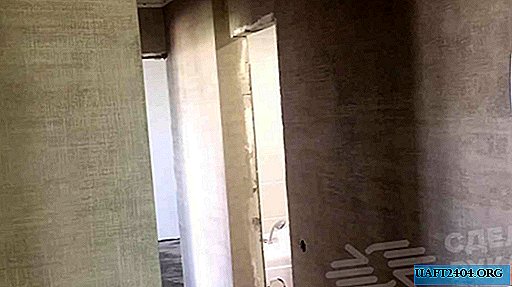
The final touch is the priming and painting of the wall. As a result, we get a beautiful relief surface. It looks very cool.
For details on decorating the walls under the "burlap" with your own hands, see the video on our website.

