Share
Pin
Tweet
Send
Share
Send
It often happens that in a home workshop it is not possible to have a large assortment of equipment. But many products can not be made in the traditional way, but with the help of the tools that are available. And if you need to make a door with a decorative grill, but there is no milling cutter at hand, then you can do with a circular saw.

You will need:
- a circular saw,
- pine boards
- PVA glue,
- sandpaper
- White paint.
To install the door, dowels with a diameter of 8 mm, door hinges, a Forstner drill with a diameter of 35 mm and self-tapping screws are needed.
For a more accurate sizing of the workpieces, it is desirable to use an electric planer and a surface gage.
We will also need a special tenoning carriage and a jig to add dowels, which can be easily made independently using a circular saw.
Manufacturing process
First we make the grill itself, and then the door frame.
First of all, we spread on a circular saw pine boards 25 mm thick on blanks about 1 meter long and about 10 cm wide. These sizes are arbitrary and chosen so far for the convenience of initial processing.

It is advisable to use already planed boards. Otherwise, we plan them with an electric planer.

And then dissolve on a circular dice. Attention: the thickness of such a workpiece determines the thickness of the future lattice.

In this case, we dissolved the boards approximately in half, and the resulting dies with a thickness of about 12 mm were aligned on the thicknesser to a thickness of 10.3 mm.

We install a special tenon cutter carriage on the table of the circular saw. By controlling the overhang of the saw blade with a caliper, we raise it to a height of 5.2 mm, that is, to a height of slightly more than half the thickness of the workpiece.

A tongue with a width of 16 mm is fixed at the base of the movable shuttle of the carriage, which determines the width of the bulkheads of the future lattice. The tongue is about 80 mm long and 5 mm high. First we set the shuttle so that the edge of the tongue is located from the saw blade at a distance of a spacer 25 mm wide. Thus, we set the parameters of the future lattice: the width of the bulkheads will be 16 mm, and the size of the empty cells 25x25 mm. We push the emphasis B to the shuttle and fix it with wing nuts. To find the position for the stop A, we use a caliber having the width of the tongue, reduced by the thickness of the cut saw blade. We fix emphasis A.

We move the shuttle close to the stop B, abut the workpiece in the tongue and make the first extreme cut.

We move the shuttle to the stop A, abut the workpiece in the tongue and make the second extreme cut.

Then we gradually shift the shuttle and select the wood between the extreme cuts.

Thus, a groove with a depth of half a tree and a width of 16 mm is formed. We throw the workpiece with a groove on the shuttle tongue, and repeating the steps to form the extreme cuts and select the wood between them, we make the second groove.


Gradually throwing the workpiece onto the tongue from groove to groove we process it along the entire length.


We make a sufficient number of such blanks.

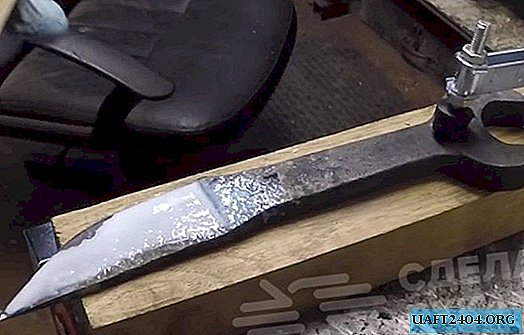
We remove the tenoning carriage and on the circular saw we dissolve the blanks on the lattice elements with a width of 16 mm.

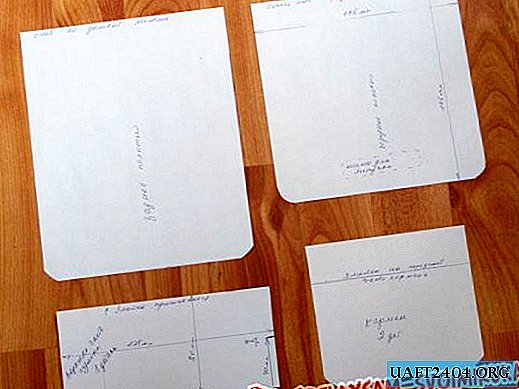
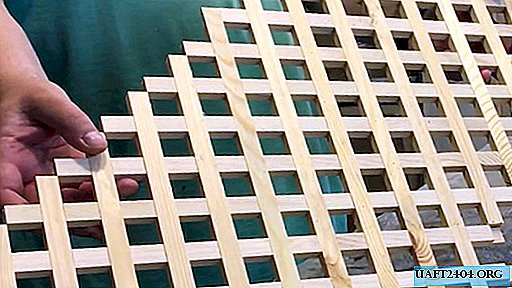
On the assembly table, draw the borders of the lattice with the dimensions we need.
And focusing on these boundaries from the sawn planks we produce a set of grilles. Attention: it is necessary to ensure that all elements go beyond the boundaries of the drawn borders.

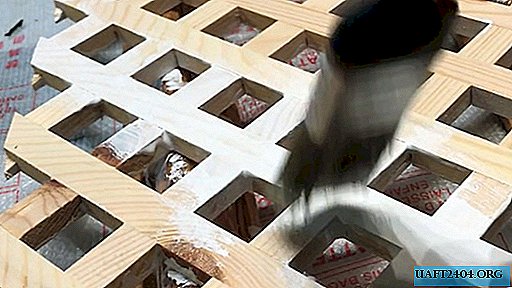
After that, you can connect all the strips with PVA glue. To do this, we sequentially separate one plank, apply a drop of glue to the joints, and return the plank to its place.

When the glue dries, on the circular saw we saw off the excess at predetermined boundaries.

Now you need to make the door frame. We prepare billets of 70x25 mm on a circular saw.

Next, we make a bevel on the circular on the outside, so that the door visually appears thinner and select a quarter for the grille made.


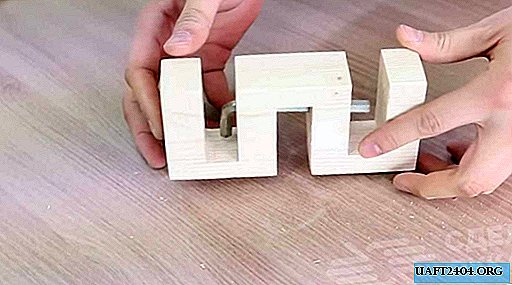
Then we saw off the workpieces to a size at an angle of 45 degrees and connect them to PVA glue and dowels with the help of a homemade jig to add dowels.


The frame and grill are ready. Now they can be processed a little with sandpaper and painted.
In the frame with a Forstner drill, we drill two blind holes and fasten the loops with screws.

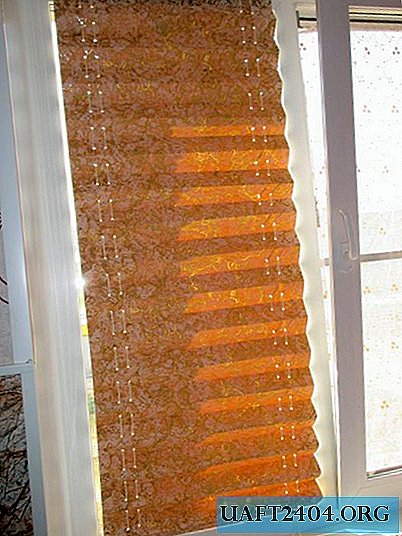
Since it is this door that closes the technical opening in the bathroom, it is impossible to rigidly fix the grille into the frame - due to constantly changing humidity, the structure may burst. Therefore, just insert the lattice into the selected quarter and fix with crackers.

We mount the door into the opening. The work is over.

Conclusion
Similarly, you can make grilles for decorating heating radiators, ventilation and other openings, for gazebos, etc.
Share
Pin
Tweet
Send
Share
Send