Share
Pin
Tweet
Send
Share
Send
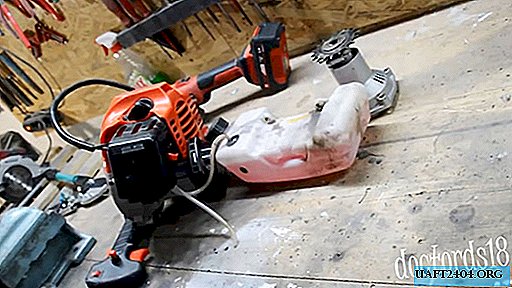
Can motokosa drill holes in various materials? Today we will consider one of the options for this possibility.
The idea is to make a rigid frame into which the trimmer will be placed and equip the spindle with a standard chuck.
Will need
A small amount will require round and shaped pipes, sheet metal, fasteners (bolts, nuts, washers, screws) and a conventional cartridge.
Of the tools you will need:
- grinder with a cutting disc;
- welding equipment;
- vice is metalwork;
- drill with a drill;
- hammer;
- manual screwdriver;
- screwdriver and wrenches.
Technology for remaking trimmer in motokosa
It can be divided into 2 stages: the manufacture of a rigid frame and the installation of the engine of the scythe in the frame.
Making a hard frame
We begin work with the manufacture of a base - a rectangular plate of appropriate sizes, with mounts for the engine.

From below to the short side in the center we weld a square pipe, which should partially protrude outward.
We weld vertically a “leg” to its protruding edge - an oblique adapter with an overlap plate welded to it with a cylindrical lower part and two holes at the ends.
We turn the base over and to the front side with the edge opposite the “leg” parallel to the short edge, weld a rectangular pipe across the entire width of the base flat.
To the outside of the profile pipe, in the center, we vertically weld a support stand with a cylindrical cutout and two holes at the level of the cutout - this will be a mount for the fuel tank.
Opposite the first rack on the other side of the plate we weld the second with a rectangular cutout. The cutouts on the racks and the distance between them are made taking into account the shape of the trimmer housing in the places of supports.
To the front of the profile pipe protruding from under the base plate, closer to the outer edge, we vertically weld a round pipe - this will be a mount for the control handle.
With a grinder, we cut a piece 2 times longer than the width of the base plate from a pipe with a large rectangular section.
We lay it flat on the base from the back side symmetrically to its center and under the profile pipe from the front side. In this position, we weld the pipe to the base.

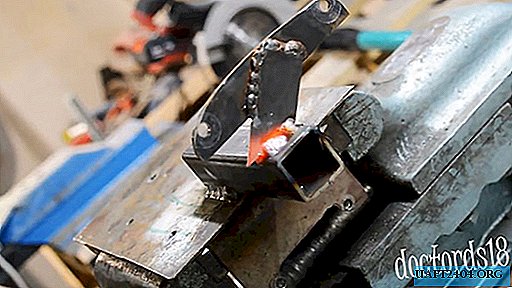
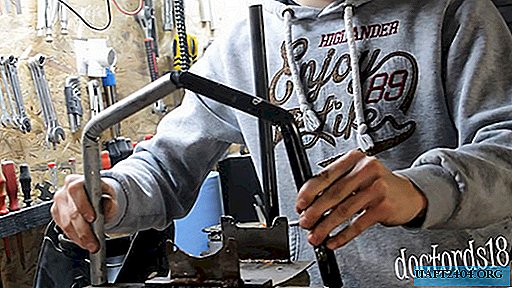
We take two pipes, identical in diameter and length, and in part, closer to one edge we make notches with a grinder in order to smoothly bend them in this place, striking with a hammer on the upper end of the pipes, the bottom of which is clamped in a vice.
We install bent workpieces with the long part on the front side of the profile pipe so that their upper ends close. We brew them in this position at the bases and in the place of closure.
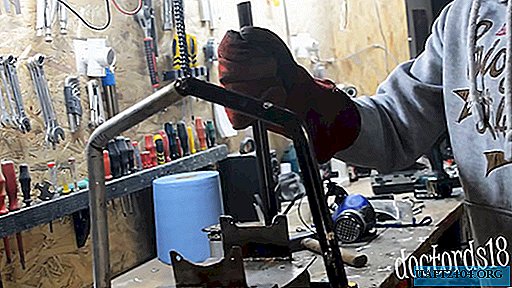
We grind all welds, the edges of the holes and the edges of the parts of the resulting structure using a grinder with a disc. The rigid frame is completely ready.

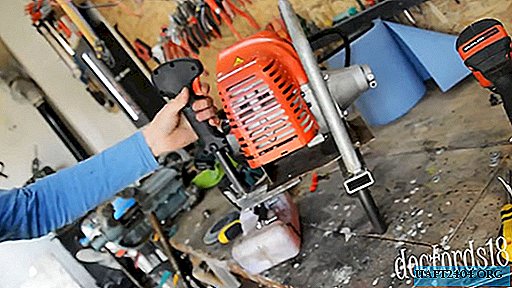
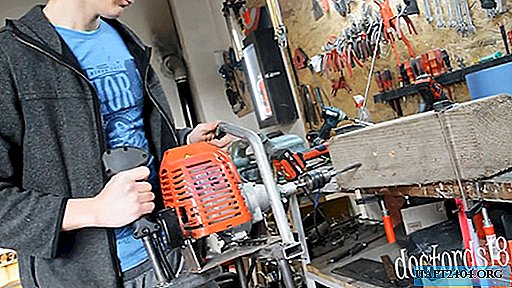
We mount the engine in the frame
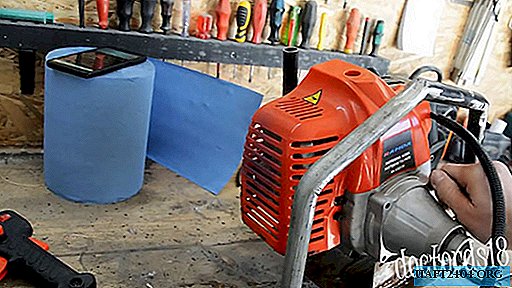
We place the motor in the frame so that the clutch housing rests on a rack with a cylindrical cutout, and the starter with a rectangular one.
We fix the engine on the racks with two screws in front and behind.
We fix the control handle on a vertical pipe in a position convenient for the hand.
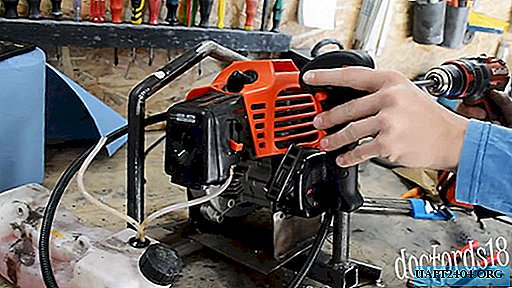
We connect the supply and drain fuel pipes between the gas tank and the carburetor of the engine. We fix the gas tank with two screws to the plate with a cylindrical bottom surface and two holes.

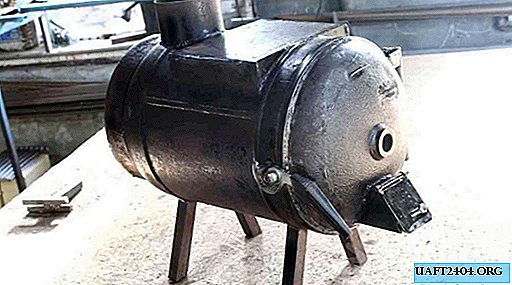
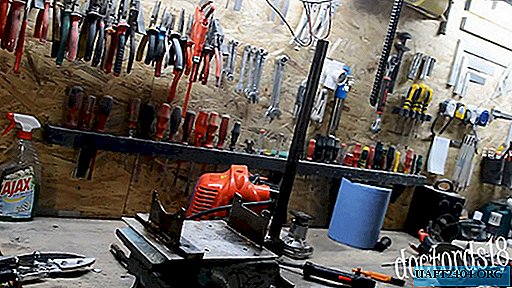
We overturn the engine, fixed in the frame, and weld two legs to the profile pipe, ensuring, together with the gas tank, the horizontal position of the motor on a flat surface.
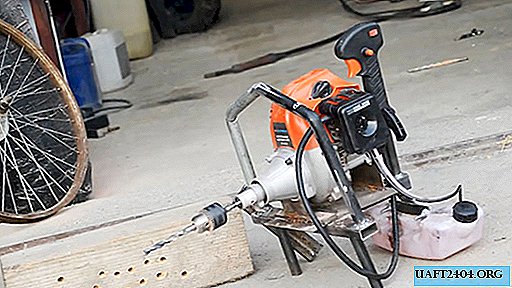
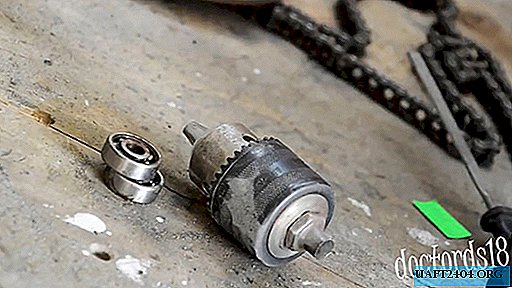
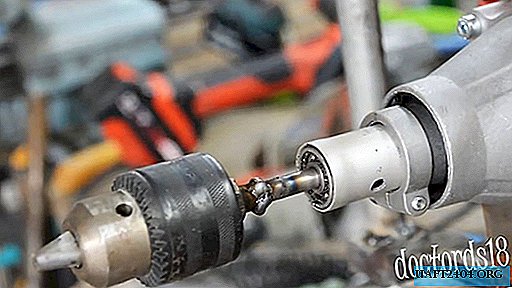
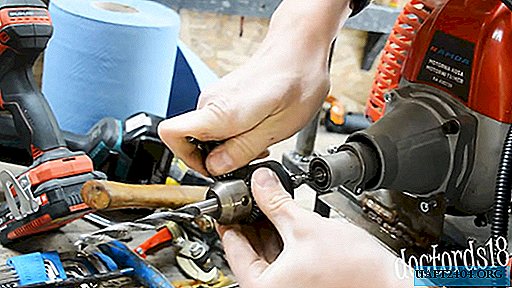
We weld a cartridge to the motor shaft, observing alignment. We clean and grind the junction with a grinder. The trimmer motor is completely ready for drilling.
Verification in practice
Pour gasoline into the tank and tighten the gas tank cap. We insert and fix the drill in the chuck.
We start the engine and let it run without load. We drill a wooden massif. The unit easily copes with this task.

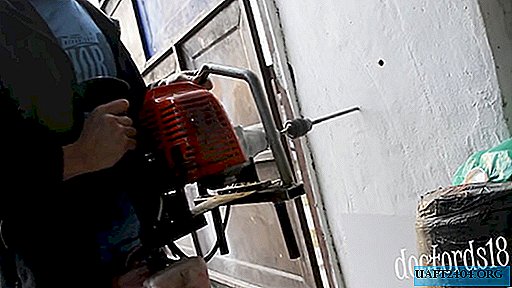
The plastered brick wall easily succumbed. The drill even at medium engine speeds easily overcome the resistance of the brick.
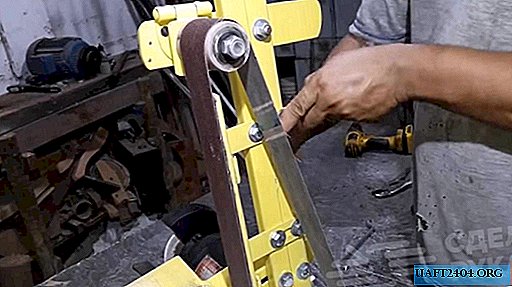
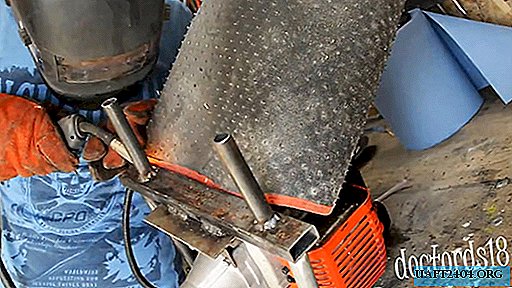
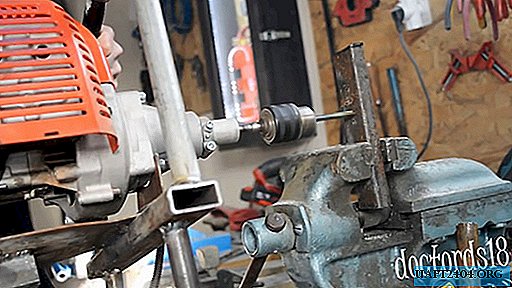
The most serious test is drilling holes in a profiled steel pipe. We pivot a series of points and start drilling. Metal also did not become an obstacle to our homemade work.
See also how you can make your trimmer quieter - //sdelaysam-svoimirukami.ru/5146-samodelnyj-glushitel-dlja-motokosy.html. This revision will definitely appeal to your neighbors.
Share
Pin
Tweet
Send
Share
Send