Share
Pin
Tweet
Send
Share
Send
Will need
For this we need:
- - plasticine;
- - a knife for cutting plasticine;
- - scissors;
- - a toothpick;
- - ruler;
- - glue or hot glue gun;
- - a small cardboard (this will be the basis for the picture);
- - a small file;
- -thin rope or lace;
- - And of course, a photograph of your pet or any other picture, for example, printed from the Internet.

Step-by-step master class for making plasticine paintings
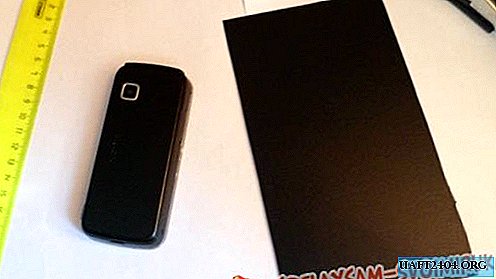
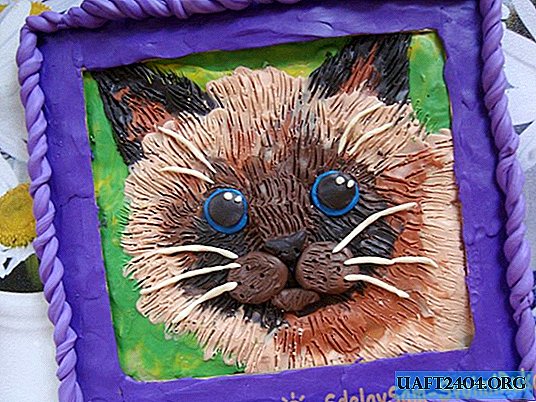
Step 1. We take any photo or picture (it will serve as a sample for us) (I used a photo of a cat 9.5 cm wide and 8.5 cm long) and cut out a base from thick cardboard under it, the base should be wider than the photo on each side about 1 -1.5 cm, and also cut out 4 strips it will be a frame 11 cm long and about 2 cm wide.

Step 2. Then we take the file and cut it to the size of our photo, then we put this piece of the file on the picture (for convenience, you can stick the photo with the file carefully with pencil glue).

Step 3. Now we need plasticine to make our picture look bright, we will make a background, for this we mix the plasticine of yellow and bright green (but do not mix the colors together too much, you need to get a blurry realistic background of our picture.) Next, a piece tear off the plasticine and smear it with your fingers in the picture, but make sure that the layer is not too thin.

Step 4. Now we will prepare clay for the fur of the cat. We will need beige color (white plasticine + brown), brown, dark brown, black, as well as blue for the eye. We start with the darkest color with black; we begin to fill with it the very central part of the muzzle.


Step 5. Then we take the brown plasticine and also fill the face of the cat.

Step 6. Now we just take the brown plasticine and do the same, use our fingers to smooth the layers together, mix them a little to make the transition look smoother. Now we add the lightest color and make it as shown in the photo, and do not forget about the ears - we make the edges black and the inside brown.


Step 7. Next, with beige color around the muzzle, make wool.

Step 8. Take a toothpick (it can be replaced with an awl, needle or other sharper object). To make our cat look just like real, make him wool, follow the direction of the wool (for this you can see on your pet or in the photo).


Step 9. Now from the blue plasticine make small "pancakes" these will be the eyes, in the same way we will make the black pupils, and also add highlights to the eyes with the help of white plasticine.

Step 10. Now select the nose for this from the brown plasticine, blind the rectangle and connect the small triangle with the details as shown in the photo.

Step 11. Now select the muzzle, blind 2 “pancakes” and one small oval and stick it under the nose and work on the wool as well.

Step 12. And the final element is what !? Of course a mustache! Roll up white lace from white plasticine and divide it into 10 parts, and attach it to the antennae.

Step 13. Let's go back to the base, with the glue gun we glue the cord, and then on top of our picture.

Step 14. Next, glue the frame, glue all the parts so that everything holds tight.

Step 15. Next, take clay of any color and stick them around the entire frame.

Step 16. Now we will decorate the frame, from a plasticine we will roll up a medium-thick cord, and then twist it together to make a beautiful rope.


Here you go! Our wonderful picture is ready! It can be done together with children, it develops fine motor skills of children well. Experiment, change colors to your taste, you can also add a cat bows or let’s say to blind some other beast. It all depends on your imagination!


Share
Pin
Tweet
Send
Share
Send