Share
Pin
Tweet
Send
Share
Send
The easiest way to do this is on the top floor of an apartment building, since in this case, there is no need to negotiate with the residents of the house. Otherwise, you will have to go around all the residents living above and ask them not to use the sewers for the duration of the work.
Let's analyze the sidebar drain in more detail using an example.
Typically, the riser has a diameter of 110 mm. In the example below, the diameter of the pipe is 50 mm, it consists of two parts and is located on the top floor. Therefore, when you make your sidebar, you should consider the design features of your particular riser. This applies to the diameter and possibly additional details not described in the example.
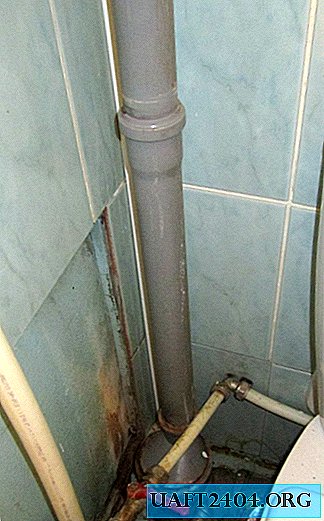

For insertion you will need the following tools and parts: a hacksaw for metal, a stationery knife, a tee with a branch diameter of 50 mm and an angle of 45 degrees, a compensation pipe and a cuff for inserting the drain hose of the washing machine.

First, carry out preparatory work. A rubber o-ring is removed from the tee branch and a cuff is inserted instead.

Next, a tee and a compensation pipe are assembled together.

The assembled parts are applied to the insertion point, so that the lower edge of the tee lies at the level of the beginning of the expansion of the pipe. On the riser, the length of the cut area is noted. On the compensation pipe, in this case, there are marks on which you can easily measure the cut-out section of the riser (at the top mark on the compensation pipe).

After the preparatory work, you need to agree with the tenants who live above you so that they do not use the sewers for the duration of the work.
Directly work on tapping the drain should be carried out as quickly as possible, because you are not safe from the fact that someone from the residents living above will forget about the agreement with you and let the water down the drain.
Next, cut the marked section of the riser.

Remove the chips and remove the chamfer on the outside of the pipe with a clerical knife.

Insert the tee into the lower riser pipe. Insert the top of the riser into the tee. Install the expansion pipe by assembling all the pipes together. Pipes must be inserted into each other all the way down, so that over time they do not move down under their own weight or as a result of mechanical stress.
TIP: Moisten the ends of the pipes with water - this will facilitate the assembly of pipes with each other.

If possible, it is advisable to install the expansion pipe under the ceiling to prevent the riser pipe from sliding down under any circumstances.

If you wish, you can completely eliminate the spontaneous movement of the compensation pipe by gluing a ring from the pipe trim to the riser under it.


Install the washer drain hose into the tee.

Share
Pin
Tweet
Send
Share
Send

