Share
Pin
Tweet
Send
Share
Send
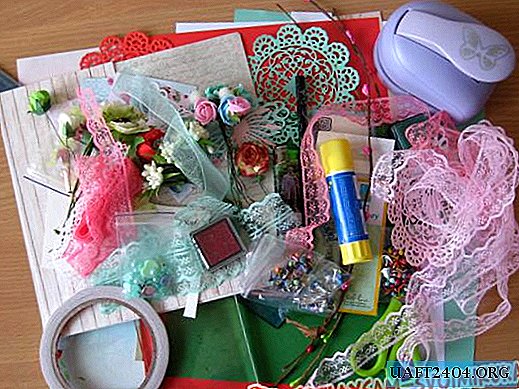
So, for making shabby cards we take:
• Three sheets of cardboard of different color, take red, soft pink and blue;
• Scrapbook paper from sets called "Shabby" and "Ukraine" from the famous designer Evgenia Kurdibanovskaya;
• Color pictures with flowers and sweets;
• Cotton lace mint, pink and dark pink;
• Artificial flowers: latex roses white, pink and green, red and salad poppies, paper hydrangea flowers white-orange, white and green;
• Bouquets of complex stamens nacreous and glitter white, red, orange and mint;
• Paper cut napkins mint, pink and red;
• Cut down butterflies, three large and 6-7 small;
• Stamped inscription in different colors "Happy Birthday";
• Branches artificial with kidneys of different colors;
• Metal plain brads;
• Double-sided tape and scissors;
• Whatman A4 sheet;
• Ruler and simple pencil;
• Glue stick;
• Small half beads of different pearl colors;
• Ink pads for tinting green and burgundy;

Let's start with the basics of postcards, for this we take a cardboard of three colors and cut out three rectangles of 18.5 * 20 cm.
Now we add each in half and get three of these basics.


Now we will cut the bottom base. To do this, measure and cut out for each postcard two rectangles of 9.5 * 18 cm, respectively, a total of six.


For the front decoration we cut out each postcard we need these three rectangles.


We’ve prepared everything, now we need to scratch all the rectangles along the edges, so to speak, to age them.


On the back of the card immediately glue on the rectangle.


Also, for internal wishes, we need to glue the white sheets of whatman paper, we also cut out three rectangles of 9.5 * 18 cm. We tint the edges of each and paste them inside each postcard. Glue one small one to the front rectangles.


Immediately pretend design, glue a napkin on top, then two pictures, slightly shifting. So we do on all three and sew each part separately, starting with a small rectangle.


Now we insert two branches on each blank with the help of brads. Now we glue these blanks on our base. Sew separately the front and back sides of each of the cards.


Now try on the scenery.


We glue all the decorations with a glue gun. The result was such juicy, delicate and at the same time very bright postcards.


Thank you for your attention and all a successful creation! See you soon!


Share
Pin
Tweet
Send
Share
Send

