Share
Pin
Tweet
Send
Share
Send
You will need:
- plywood 16 mm thick;
- thin boards or plywood 10 mm thick;
- pencil, ruler, compass;
- drill, drill;
- jigsaw;
- a chisel 10 mm wide, a hammer;
- a scraper from a hacksaw cloth or a shoe knife;
- PVA glue;
- plywood 3 mm thick;
- cloves, screws;
- varnish, brush, sandpaper.
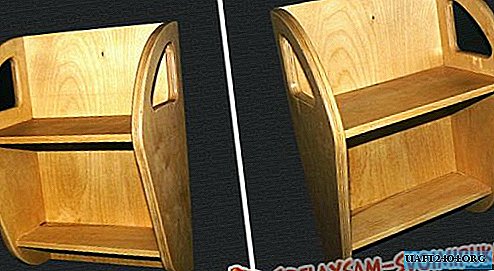
The shelf consists of two racks, two shelves of different widths, the back wall. Racks have decorative cutouts. The racks are mirror-symmetrical, so the dimensions are indicated only for the right rack.


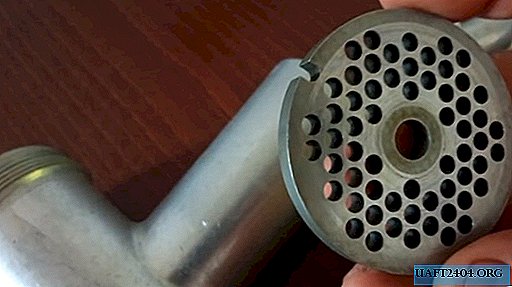
We mark it according to the drawing, we drill a decorative cutout in the corners with a pen drill, then we cut it out with an electric jigsaw with a nail file for curved cuts. To install the shelves you need to make grooves. So that the edges of the grooves are neat, even - with a boot knife or scraper, using a metal ruler as a guide, we scratch the top layer of plywood along the border of the future groove. A scraper (tooth) is made from a fragment of a blade for a hacksaw for metal (Fig. 5). The rest of the sample is done with a chisel. Grooves 1 cm deep.


Shelves rectangular from thin boards 1 cm thick or from multilayer plywood also 1 cm thick.


If there is no board of sufficient width, you can glue two even narrower - glue the ends with glue, squeeze, put on a flat surface and press it with a load. After drying, cut with a jigsaw to the required size.
For the back wall we take a three-layer plywood. We drill holes for wall mounting in advance. The holes can be both above and below the upper shelf.

When all the parts are made, they must be sanded. The outer parts of the uprights and the decorative opening should be slightly rounded. If necessary, fill chips and defects with a putty of the corresponding color and clean. For better adhesion (adhesion), grooves and ends of the shelves should be primed with a weak PVA solution. On a flat surface we assemble the structure on glue.


To prevent the shelf from sticking to the base, assembly is best done on a piece of polyethylene (at least a cut bag). After the glue dries, if necessary, we clean the joints and varnish the entire shelf. We beat the prepared back wall with small cloves or fasten with small screws.

Once again, we coat the entire structure with varnish. All. Can be mounted on the wall.
Share
Pin
Tweet
Send
Share
Send