Share
Pin
Tweet
Send
Share
Send
For such an interesting master class, we need to take:
• Orange sheet of A4 cardboard;
• Children's paper for scrapbooking in yellow-orange tones;
• Card layout;
• Children's pictures with fairies and bunnies, also various children's clippings;
• Acrylic stamps with congratulatory inscriptions;
• Greenish ink and black;
• Figured white cutting for inscription;
• Floral puncher;
• Wooden buttons of flowers salad and orange;
• Plastic yellow buttons;
• Satin ribbons cream and pink;
• Clothespin;
• White and pink lace;
• Polymer peach rose;
• Small plastic buttons;
• PVA glue;
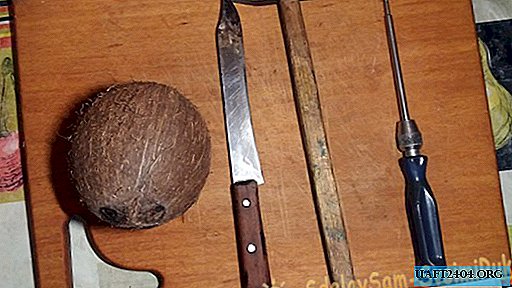
• Stationery knife;
• Ruler, pencil, double-sided tape, scissors.
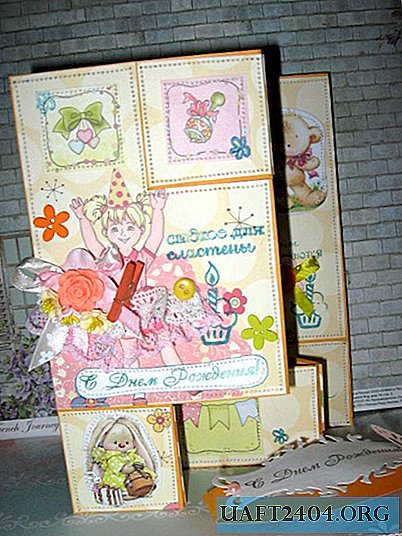

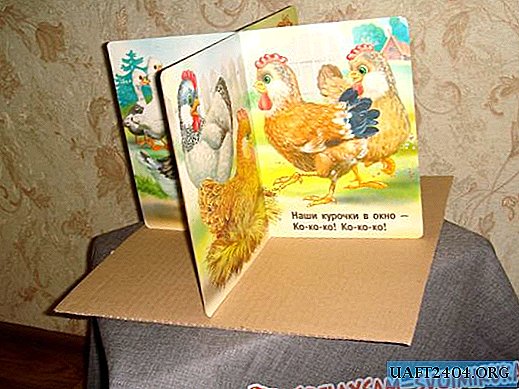
So, first of all, we need a diagram and a sheet of cardboard to cut out the base of the folding form. In our case, the cardboard is orange, and the card itself will be in yellow-orange colors.


According to the scheme, we make all the marks, and in the place indicated by the violet color, we make incisions with a clerical knife. We bend at the places of bends and get such an interesting basis.


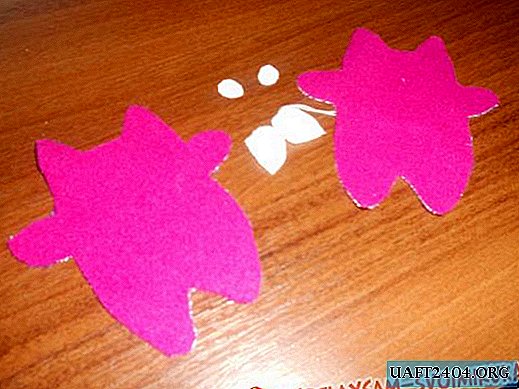
Now we cut out various figures from the scrapbook paper to decorate the postcard, measure them also on an already finished basis, removing 1-2 mm from the edges. Glue pictures on the figures with double-sided tape.


On the cut-out frame we do the stamping "Happy Birthday". We do another stamping on white thick paper in green; we glue it on a scrap figure. Sew all the pictures and other elements. Now all the figures are glued in small pieces to the base.


Sew separately each fragment.


From the remaining strip of orange cardboard we make a loop and glue it, we glue the frame with the inscription on it. The card is folded and put on a loop with the inscription.


Now we make stamped inscriptions on the postcard with different inscriptions.


At the end, we now glue the decor. A little inside, a bow and flowers, and decorate the front side. There we glue stripes of lace, bows, flowers, beads, fasten the button and you're done!


It came out so interesting, just like a whole house postcard. In the center, we don’t sew one picture from above and invest money there.


Thanks for your attention!

Share
Pin
Tweet
Send
Share
Send