Share
Pin
Tweet
Send
Share
Send
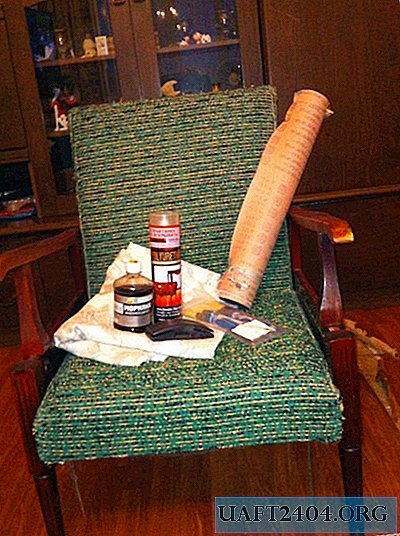
So, for work we need:
- Stain (you can choose the color that suits you);
- Furniture varnish (we used varnish in a bottle);
- screwdriver;
- Material for furniture upholstery (we used material for curtains);
- Foam rubber (to give the seats a softer and thicker coating);
- Construction stapler;
- Wooden shield;
- Glue for wood;
- drill;
- Vibro-grinding machine.

1. First you need to disassemble the chair.

During our disassembly, it became clear that one part from the legs consists of chipboard and over time it dried up and began to crumble. This item was not subject to restoration. We decided to replace it with a wooden furniture panel.
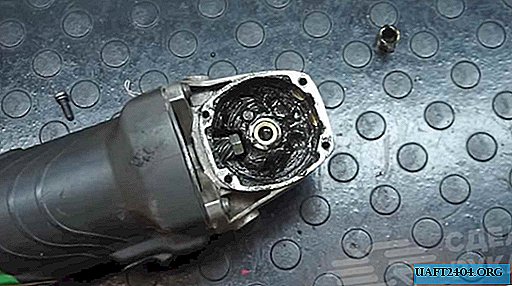
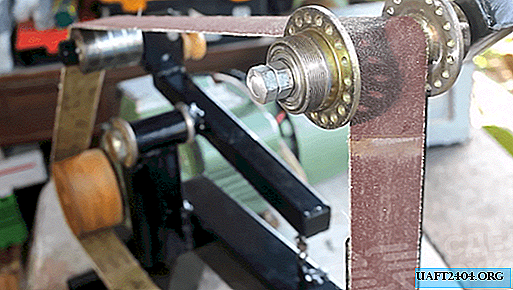
2. Now we need to sand all these details. This is the longest and most difficult process. Be patient. We removed varnish from parts using a special iron nozzle on a drill. And then, the train cleared them with a machine until the natural color of the tree appeared.


3. Then, from the building board, we cut out the details of the shape we need and cover all other parts with a stain.


We chose a dark color. Now we wait 5-6 hours until the stain dries completely. After that, cover them with furniture varnish.

We really wanted to maintain the effect of natural wood, so we did not begin to achieve a thick and shiny layer of varnish. The drying time of the varnish is from about 22 hours to a day, it depends on the thickness of the coating.
4. After all the parts have dried, we begin to collect the legs. To do this, we needed to drill holes in new parts in order to connect them with other parts.

Then, using furniture glue, we connect all the parts together and leave for 3 hours in order for the glue to dry out.
5. We proceed to cover the seat itself. Remove the old coating and pull out all the nails and staples. We left the old foam, because it did not go bad.

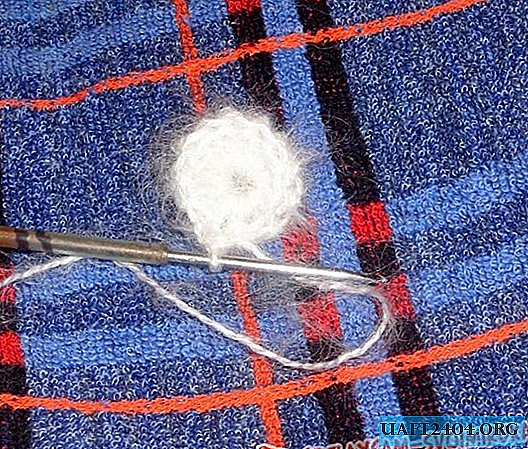
Our goal is to make the chair more voluminous, so we cut out a new foam rubber and put it on the old one.

We cut the corners of the new foam so that the edges are not very straight, but a little rounded.

After, we sew the old foam rubber to the new one so that he would not walk and move inside the chair.

6. Now you can fit the seat with material. Our chair is not complex geometric shape, so we successfully managed to fit it in one piece, without resorting to sewing. Gently pulling with the help of a construction stapler, we sew it to the chair frame.


7. Now we just have to assemble a chair and fix the remaining material.
Done!


Now in our house there is a vintage little thing. And in my opinion, the chair began to look amazing.
Share
Pin
Tweet
Send
Share
Send