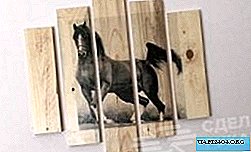
Did you know that even from an old wooden pallet you can make a small masterpiece with your own hands - for example, a beautiful wall picture of a modular type that will decorate and “enliven” the interior of a private house or apartment.
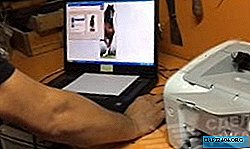
In addition to the pallet, or rather, several planks from it, you will need an image (it can be easily found and downloaded on the Internet, and then printed on a printer) - it can be a landscape, an image of an animal, a family photo, etc.
The main stages of work
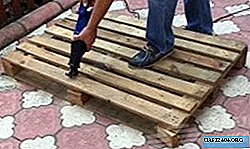
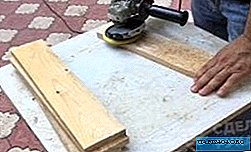
First of all, you need to disassemble the pallet on the boards. In principle, it is not necessary to completely disassemble it - to create a modular picture you will need only five tablets. The edge of the boards must be cut on a circular saw so that the workpieces are even and of the same size.
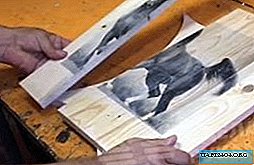
At the next stage, we temporarily fix the planks with superglue (just put two tacks on the edge). Then print the image - first you need to divide it into three vertical parts (this can be done in Photoshop or using any other similar program).
Please note that the image must be mirrored. Then we apply waterproof PVA D3 glue to the surface of the glued boards of the workpiece, after which we stick the strips face down. After the glue dries, wash off the paper with a damp cloth or sponge.
Finishing touch
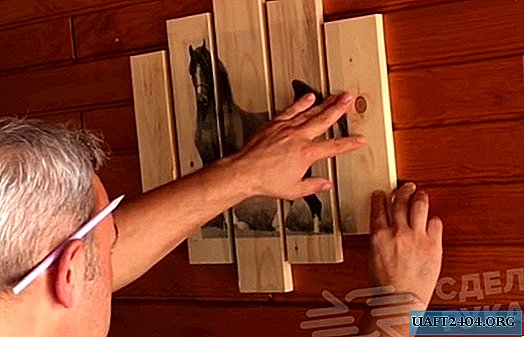
Using a clerical knife, we cut the workpiece at the seams, and then cut the planks along the length. A modular picture develops as follows: the shortest planks should be at the edges, then the medium ones should go, and the longest should be in the center of the picture.
On the back of the modules we drill blind holes, hammer nails at the right level in height, and hang the picture on the wall. See the video on the website for the step-by-step process of manufacturing a modular picture from a pallet.