With the help of a manual milling cutter, it is possible to perform various operations on the processing of wooden blanks: chamfer, draw an edge, make a thread. However, for many masters there is no urgent need to purchase a manual milling cutter, since it is required only for one-time work.

In such a situation, it is much cheaper and easier to make a homemade manual milling cutter from improvised materials. The supporting frame can be made of boards or plywood, and a power electric drill can be used as a drive.
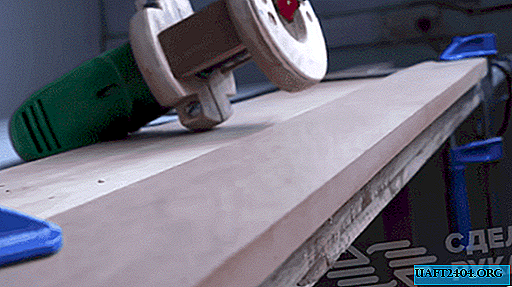
It is necessary to cut two round blanks from a piece of board or plywood of suitable thickness and size. They will be used to make the main frame. We process disks on a belt grinding machine.

The main stages of work
After grinding in round wooden blanks, drill holes in the center. To do this, it is best to use a crown of a suitable diameter. We clean the inner edges with sandpaper. The result should be two "bagels".

On one of the wooden circles we do the marking and saw out four pieces. In the resulting "protrusions" (not in all, but only in two), we drill through holes and make a recess for the blind. After that, we mark the circle in half and cut it into 2 identical parts.

At the last stage of work, we connect both wooden "bagels" with each other using two wooden bars mounted vertically. Pre-do the markup and drill holes.

For more information on how to make a simple hand mill from an electric drill, see the video on the website.