When carrying out repair and construction work indoors, it is very convenient to use the laser level to build a straight horizontal or vertical line. Just for the sake of 1-2 applications, buying this device does not make sense. Very expensive.

However, there is an alternative - you can do the laser level with your own hands. It will come out much cheaper, and the construction of axes on a plane will cope no worse than a conventional linear laser level. An error, of course, can be, but not critical.
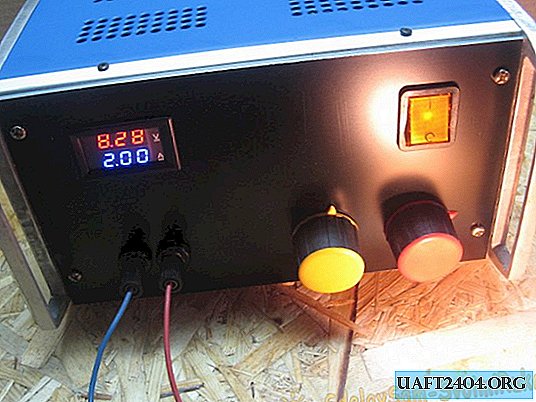
To make this homemade product you will need a Chinese laser flashlight, a piece of profile pipe, an aluminum or steel tube, a small piece of a mirror and an electric motor for 12V. That's the whole set of materials.

The main stages of work
The first step is to cut a piece of aluminum tube that is suitable for the length. Insert a laser flashlight into it and fix it with hot glue. The ends of the tube should be open.

At the next stage, the master cuts off a piece of the profile pipe. On top of the profile you need to glue an aluminum tube with a laser flashlight inside. To do this, it is better to use some kind of two-component adhesive.

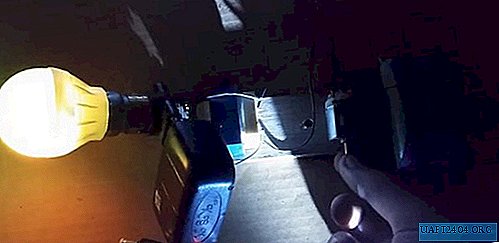
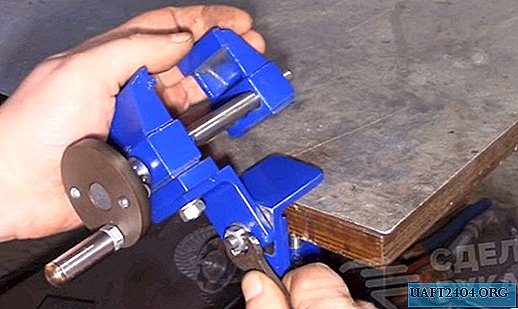
In the profile pipe, the master drills a through hole under the motor shaft. Then the motor itself “sits” the glue, as well as the battery and the on / off button. A plastic tube is put on the motor shaft, and a piece of the mirror is attached to it - on hot melt adhesive.

Now the home-made laser level is ready to go. We insert the batteries into the laser flashlight, mount the structure on a tripod or tripod (by the way, they can also be made from improvised materials), set the desired height, and you can make the necessary marks on the wall.

For details on how to make a laser level with your own hands, see the video on our website. Write in the comments what you think about this homemade product.