When powerful and soft blows are required when processing a workpiece, a hammer made of wood or with a rubber hammer is usually used for this. However, the former are deservedly more popular.
This tool can be used for different purposes, but is most often used in the home workshop when performing carpentry and carpentry.
First you need to file the necessary blanks for the manufacture of the "head" of a mallet. In this case, the master decided to use different types of wood to get a certain contrast. Many will agree that working with a beautiful tool is much more pleasant.

Step-by-step process for making a wooden mallet
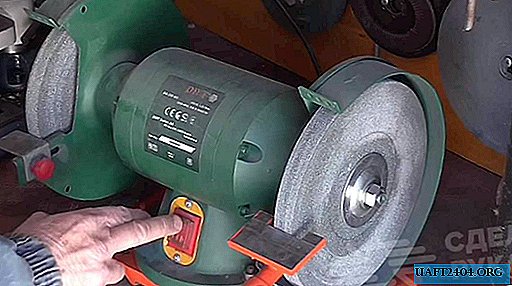
First of all, the master glues two identical blanks of a rectangular shape. Then he makes grooves in the center of the bars. After cutting on a circular saw, the grooves must be trimmed with a chisel. Next, these blanks will need to be glued.

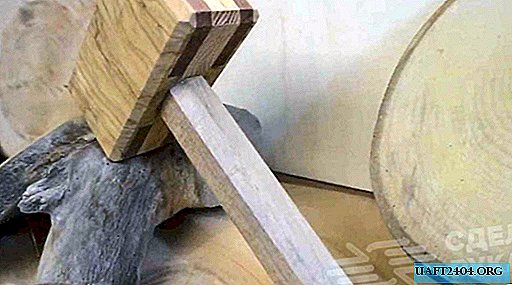
At the next stage, the master proceeds to manufacture a wooden handle for a mallet. There is nothing complicated - everyone can handle it. Two cuts must be made at the top of the handle so that wedges can be inserted.

Next, the handle is inserted into the "head" of the mallet and wedged with two wooden wedges. Before that, the master processes the parts with a manual mill for a more aesthetic appearance.

And after the glue dries, it remains only to cover the finished product with mineral oil, varnish or wax. For more information on how to make a convenient mallet from a tree with your own hands, we recommend that you look in the video on our website.