Share
Pin
Tweet
Send
Share
Send
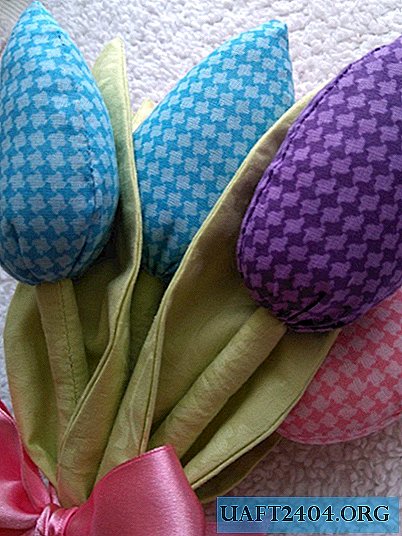
Admit it, it bothers you to look at the same thing constantly, to use the same things. So I am the same. To cheer up, I change something in the apartment: curtains, bedspreads, pillows ...
The other day I decided to update two small decorative pillows that adorn the bed. The tapestry pillowcases in which my thoughts were previously packed faded and got a little fed up. I rummaged through the bins and found a pretty fabric - draped satin. Remained once from tailoring of curtains. I didn’t have much of this atlas, so I decided to sew the back of the pillowcases from another fabric - furniture.
Will need
I buy such a flap for various crafts and sewing in a furniture fabric store. To make new pillowcases, I still needed:
- scissors, ruler, pen, chalk;
- threads, needles for cleaving fabrics;
- sewing machine, overlock, iron.


Updating Pillows
To begin with, I measured the pillow: length - 50 cm, width - 36 cm. Since the curtain fabric I had was not wide, I sewed it, sewed the seam with overlock and sewed it on the front side. The edges of the workpiece are also processed so that the fabric does not crumble when sewing. All smoothed out.
Now you can start cutting. I decided to make pillowcases with “ears” (the pillowcase is built around the entire perimeter at a certain distance from the edge) 3 cm wide.

To do this, I carved two rectangles from a curtain atlas measuring 58 by 44 cm (on each side, add 1 cm to the seam to the size of the pillow and 3 cm to the “ears”, it turns out 8 cm). These will be the front parts of the pillows.

Four rectangles are cut out of the furniture fabric: two - 44 by 54 cm in size (the main part of the pillowcase should be less than the width of one "eye" and the seam, that is, 4 cm) and two - 44 by 20 cm in size (this is for the valve so as not to sew in a lock or other fastener).
On each piece of furniture fabric, I worked on an edge on the side 44 cm long. I just turned the fabric inwards by 1 cm and sewed it on a typewriter.

Chipped off blanks from curtain fabric and furniture, folding them "face" to each other. First she put the valve, and on it the back of the pillowcase, with the edges worked towards each other.

I sewed pillowcases around the entire perimeter, keeping a margin of 1 cm from the edge of the fabric. I turned the sewed pillowcase over again, chipped the edge with needles so that the fabric would not slip, and it was more convenient to sew.


I pillowed each pillowcase on all sides at a distance of 3 cm from the edge. For a more straight line, you can draw a line along the line with chalk.


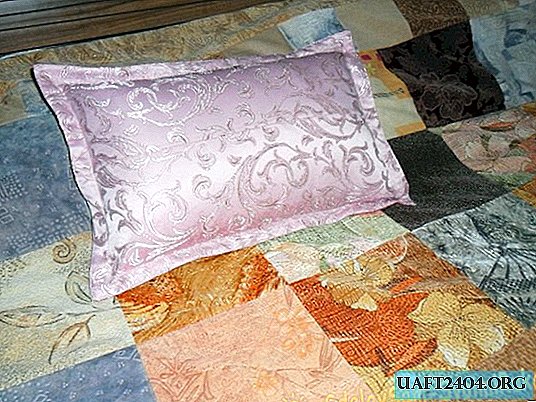
She stroked the pillowcases once again, but only satin fabric, furniture ironing is undesirable. The finished pillowcases were decorated with pillows, and they beautifully sparkled with a new pink satin.


Share
Pin
Tweet
Send
Share
Send