Share
Pin
Tweet
Send
Share
Send
Decoration of interior items using decoupage technique is gaining more and more popularity among the fair sex. You can decorate in this way not only cutting boards, photo frames and other little things, but also bottles, for example, with champagne. These works will decorate the table, refresh it, make it special. Even if all year you did not have time in the bustle to master a new technique of creativity, you can do it just on New Year's days.
In this master class, we will consider the technique of direct decoupage from a file, while the pattern will be applied round the bottle, with the edge over the edge. When decorating directly with a napkin, champagne will stand, and not lie on its side, as when gluing a small motive.
It will be useful here to indicate the terms used by the masters of this technique.
A motif is a drawing from a napkin or decoupage card, which will be located on the surface. Soil is an acrylic paint or a mixture of paint with PVA glue, which is applied to the glass with the first and second layer.
For decoupage, they usually use PVA glue slightly diluted with water. It is important to remember that when wet, the size of the napkin increases by approximately 0.5 cm on each side, which is very noticeable if you first apply a dry napkin to the surface to determine the boundaries where the motive will lie.
Materials and Tools
Always at hand at the craftswoman should have toothpicks, cotton buds, sheets of paper or newspaper, cotton wool. All this can be found in every home. Pay attention to the reasonable arrangement of the workplace, to protect the hands, face (especially the eyes) from the effects of varnishes and paints. Therefore, it will not be amiss to purchase gloves, masks, etc. In addition to the above, prepare:
- acrylic paints: white and pearlescent;
- ordinary brushes, as for watercolor paints;
- a sponge sponge or a piece of dry sponge for washing dishes, mounted on a clothespin;
- acrylic lacquer;
- the smallest sandpaper;
- acrylate putty for decorative work;
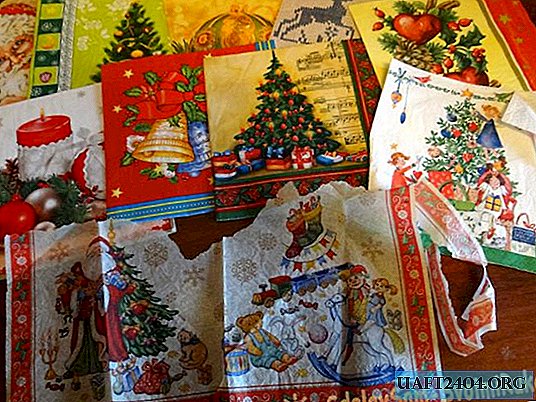
- napkins suitable subjects, I took New Year's;
- artificial christmas tree branches, real cones;
- for artificial snow, foam balls;
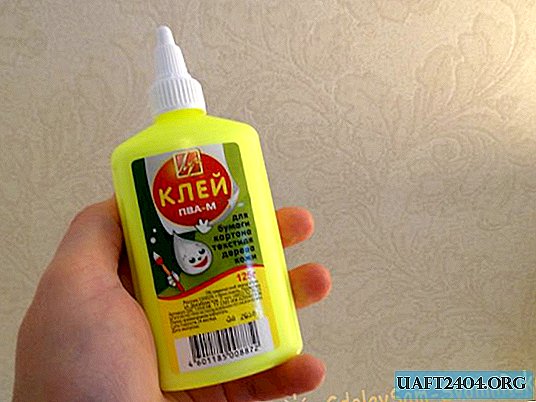
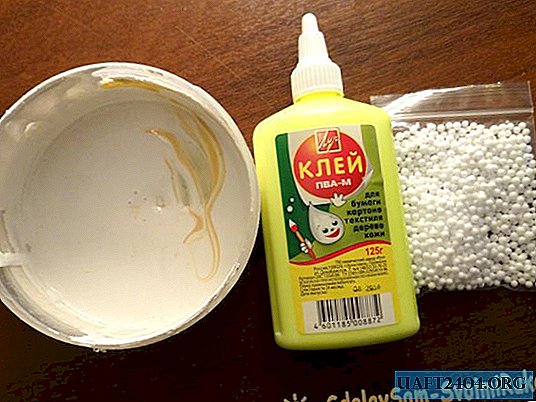
- PVA glue for paper and cardboard or construction;
- scissors;
- stationery file, better dense.
Also useful are inspiration, creative message and free time, as well as a good mood. In time, work can take several days, since it is necessary to carefully dry each layer, but when using a hairdryer, it can be accelerated up to several hours.
Beginning of work
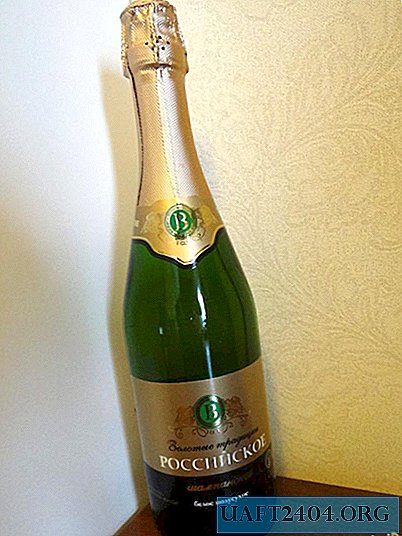
Get good quality champagne.
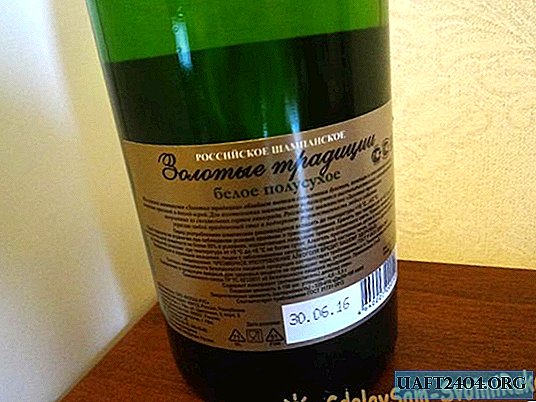
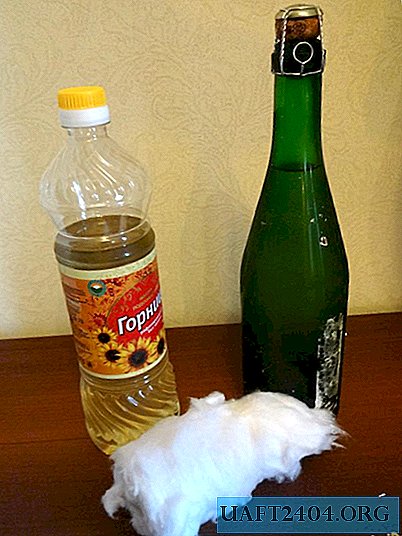
As in the case of remaking old furniture, before applying any type of coating, you need to remove the old decorative layers. When decorating bottles, these are labels and excise stamps. First I soak the glass in water, then remove the label with a brush. The remaining paper and glue can be easily removed with vegetable oil and sandpaper, vigorously rubbing the bottle.
Select a napkin in advance.
Before starting to prime the glass, degrease it with window cleaner or alcohol.
Add PVA glue to the paint and make a foam sponge.
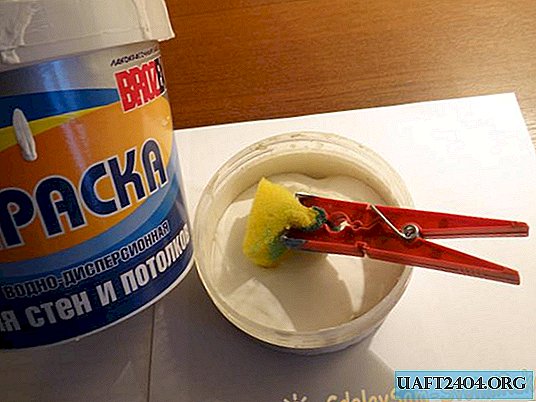
Apply fine primer to the surface with small, point-wise movements.
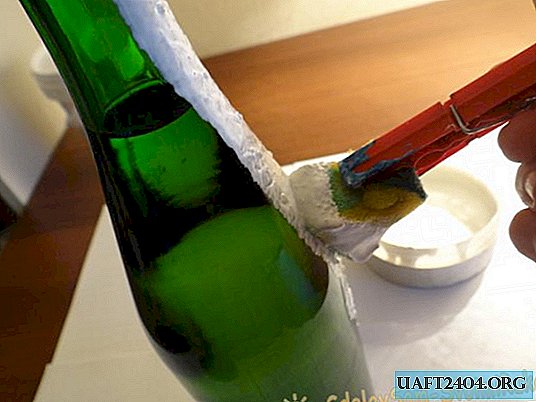
Two or three layers is enough. Allow the bottle to dry or dry it thoroughly with a hairdryer on all sides.
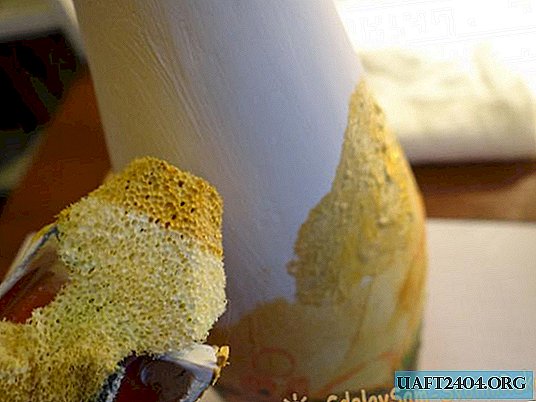
Now grab some fine sandpaper and sand the surface.
During the grinding process, you will realize that the graininess is not completely removed. In order to prepare the surface for decoupage from the file, take an acrylate putty.
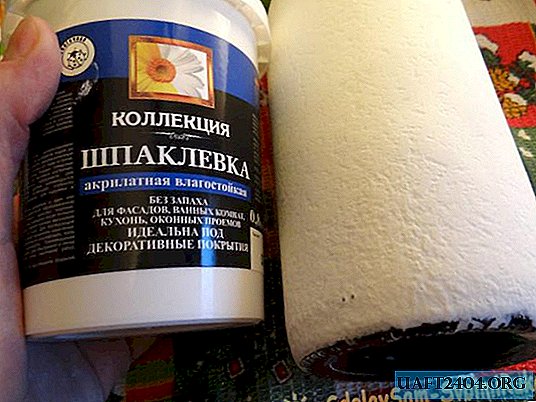
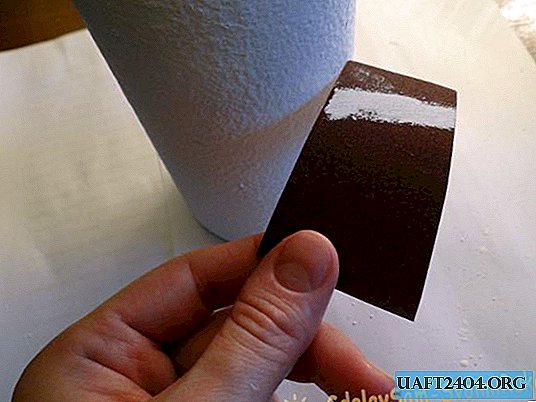
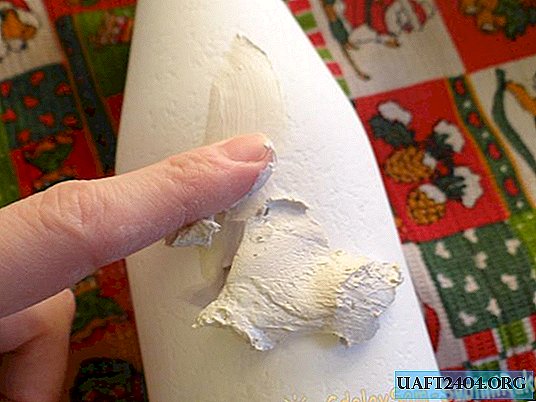
Apply the paste on the bottle in the thinnest layer. To do this, take a plastic card of any bank instead of a spatula or simply use your finger. You can remove excess with a thread. The bottle should lie on its side.
We use the hairdryer again. The paste dries very quickly.
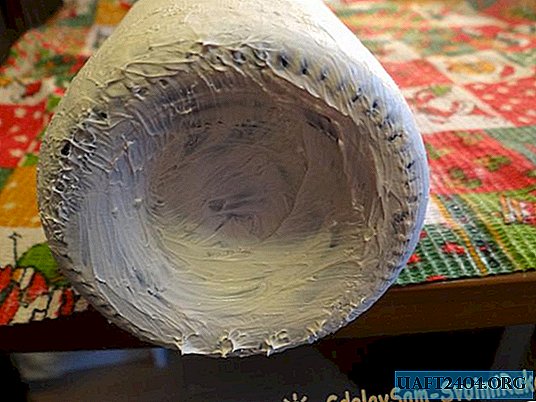
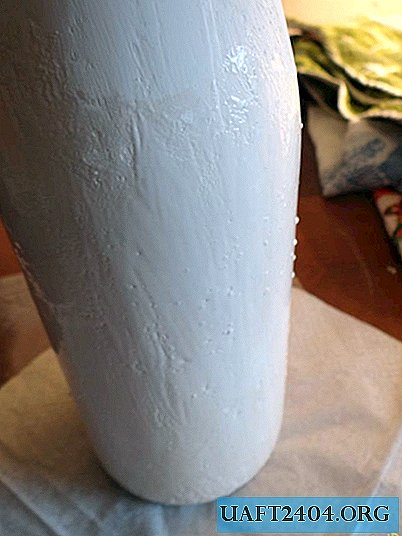
Cover it also with the bottom of the bottle.
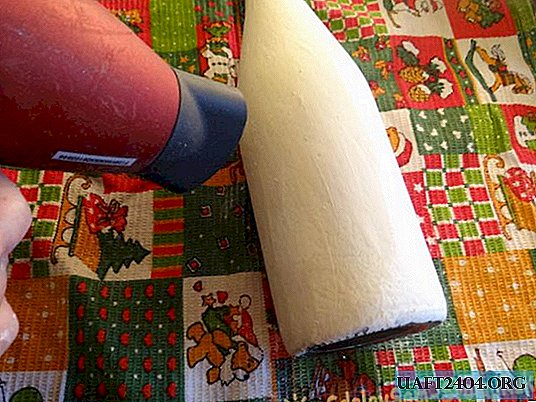
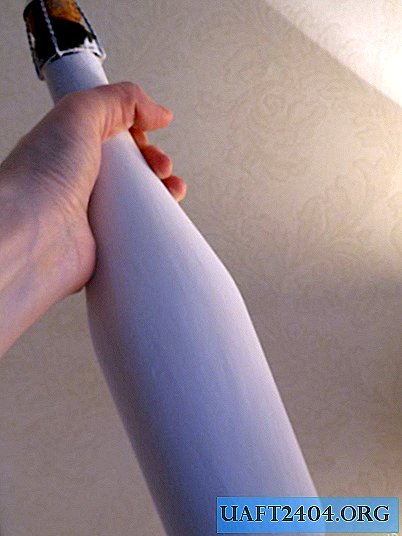
If necessary, go over the surface with a nap, once more. This is how smooth the bottle ended up. Now she is ready to impose a motive.
Decoupage
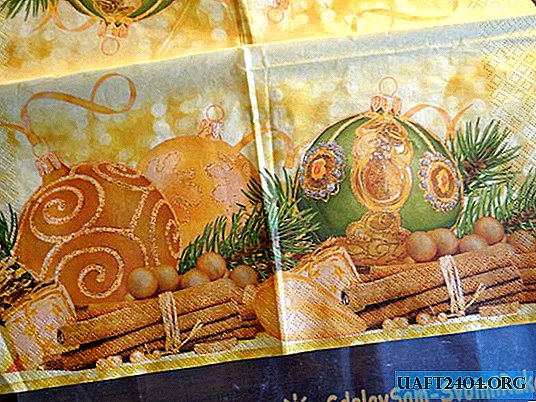
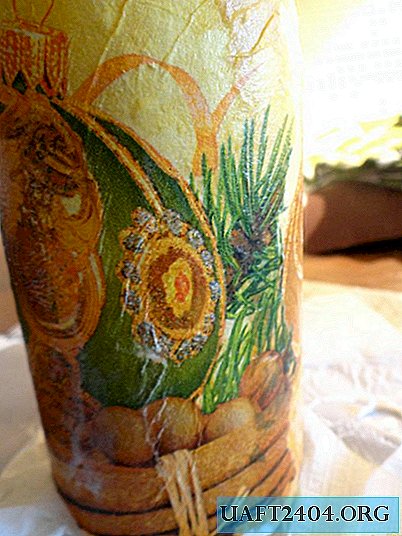
The easiest way to decoupage for beginners is decoupage from a file. I chose a motif with the image of Christmas balls, cinnamon, spruce branches. The drawing does not end on a quarter of the napkin, as usual, but is located on the half, as shown in the figure.
If you wrap a bottle with a napkin, it becomes clear that you have to reduce it a little. But let's not rush.
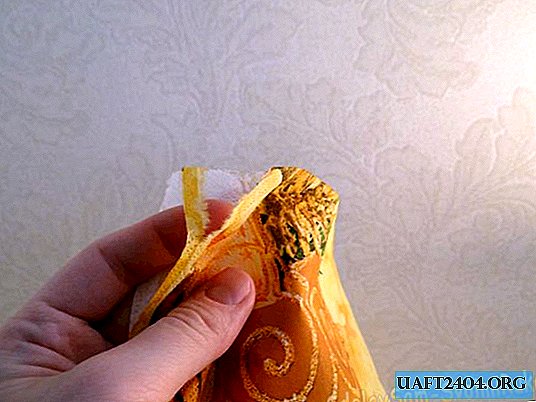
Make the edges of the motive jagged by cutting them off. Separate the napkin.

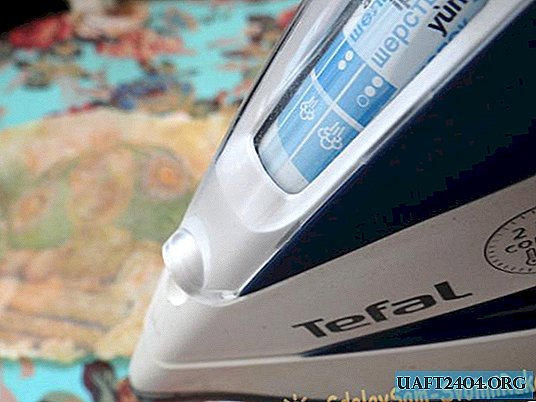
You may need to iron out the motif from the inside out in silk mode.
Put the colorful layer of the napkin on the file with the picture down and start dripping water on top of it, from the middle to the edges. It is necessary that the entire napkin is in the water. In fact, by spreading it out, you will not touch the paper with a brush, you will touch the water, and the napkin will straighten itself.
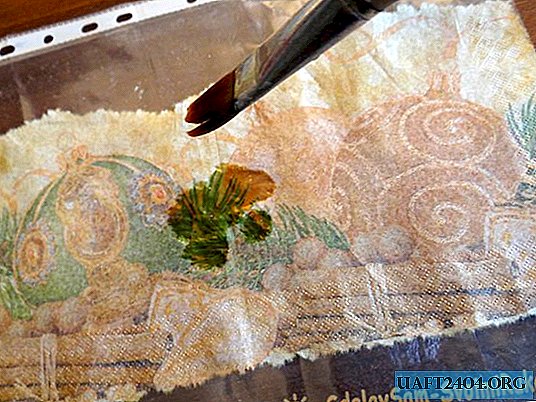
Flatten the motive, drive the air out from under it, the folds will straighten out. However, do not keep the napkin in the water for too long! The edges of the motif can be safely removed, as the paper has increased in size ...
The motive on the file can be raised in this way, as shown in the figure.
Lubricate the bottle thickly with PVA glue, while diluting it is not necessary in this case.
Now begins the most interesting and most difficult part of the work. Starting from the middle of the motive, lean the file against the bottle, but not all at once, but only the middle, and stroke the file with your hands up and down, and also slightly to the sides.
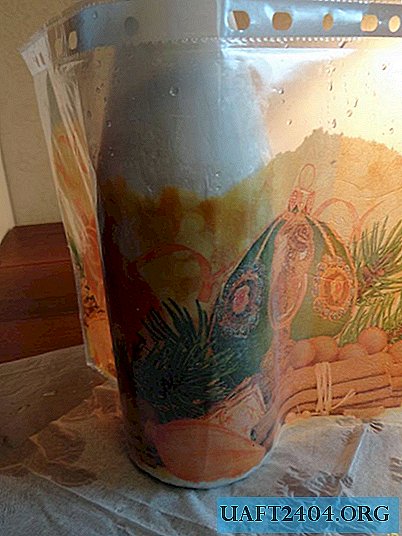
Next, you need to put on the glue one edge of the napkin and slowly separate it from the file. If necessary, straighten with a wide brush with water, but it is better to glue immediately evenly.
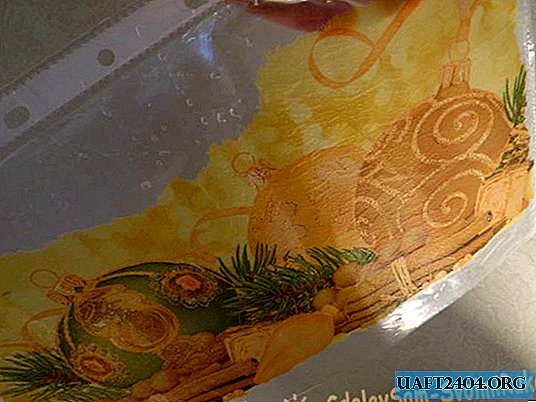
The photo below clearly shows that one part of the napkin is still on the file, and the other is already on the bottle.
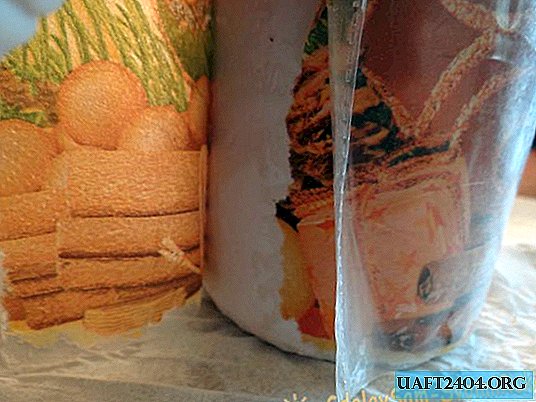
Now lap over the rest of the napkin, adding a little glue. This whole process requires dexterity, attention and concentration. If necessary, gently cut off the excess part of the image.
Pay attention to the following photo. It shows that the last part of the napkin did not stick very smoothly, and when I tried to smooth out the motive, it began to tear. At this stage, if this happened to you, it is best to exhale. Let the napkin dry naturally, the hairdryer will only hurt.
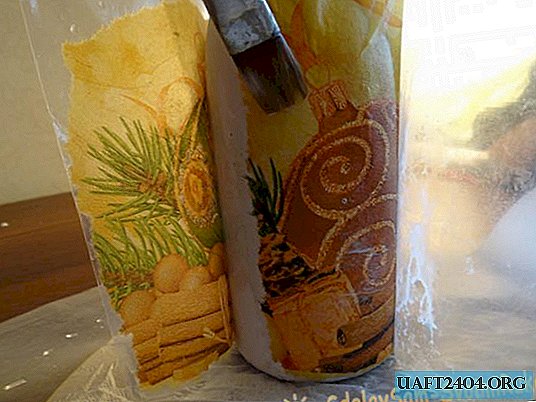
Glue the top of the napkin, which previously remained just in the air. If creases are formed, they can later be removed with sandpaper.
Pick a color and paint the background with the same sponge.
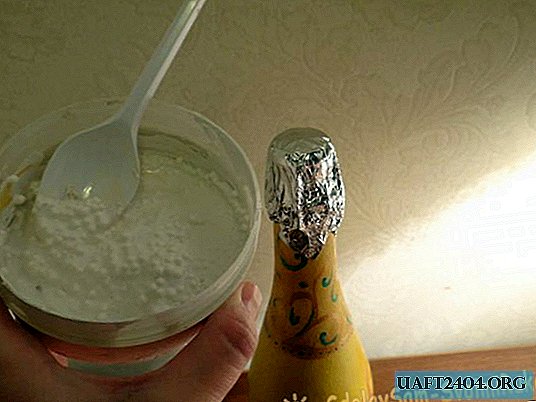
While the paint is drying, make artificial snow. To do this, mix white paint, PVA glue and semolina, or foam balls like those in the photo.
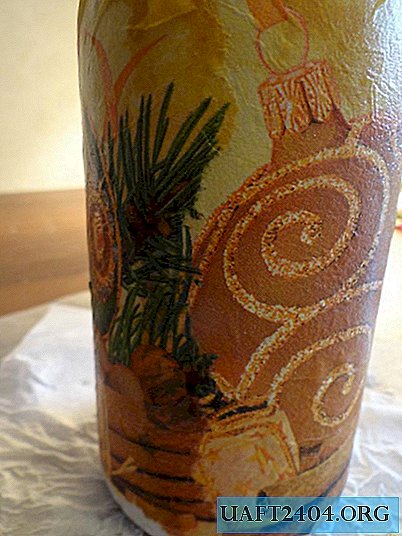
Coat the bottle with two layers of varnish and let it dry. Before that, it was possible to depict patterns on the surface.
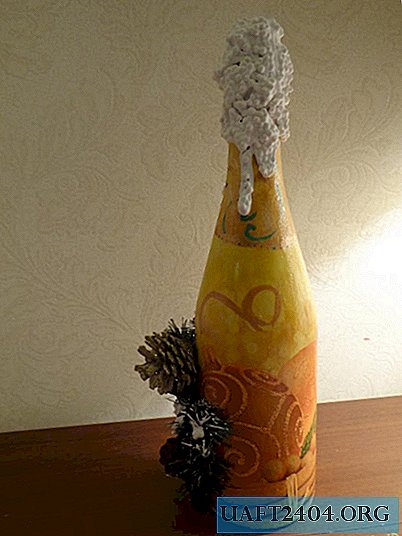
Close the lid with foil and apply artificial snow on it.
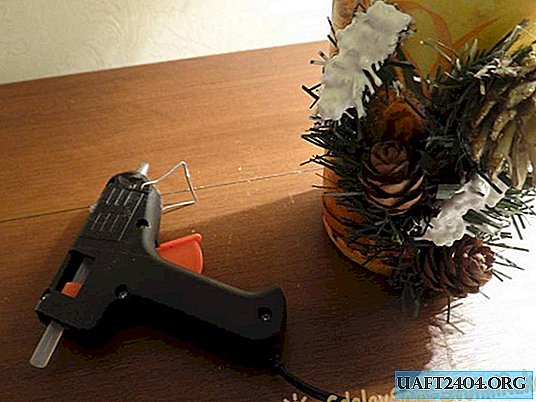
In conclusion, hide the irregularities and the “seam” of the napkin with the help of several branches of an artificial Christmas tree or tinsel. I also stuck real cones, covered branches with artificial snow. You can attach it to the glue gun, which can be bought at the Fix Price store no more than 100 rubles.
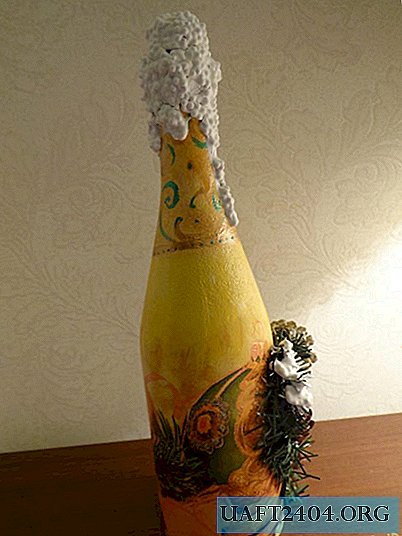
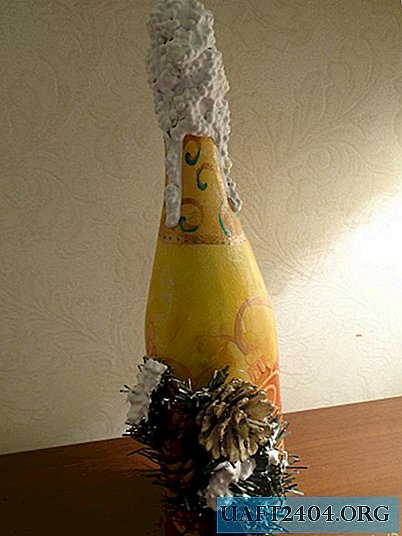
That's all, a wonderful gift is ready!
Share
Pin
Tweet
Send
Share
Send