Share
Pin
Tweet
Send
Share
Send
A master class will be useful to us for this and we will need to take:
• Paper for watercolors format A2;
• Paper mint color sheet size 30 * 30 cm;
• The picture with the inscription is also mint;
• Scheme boxes;
• Two inscriptions stamped "Happy Birthday";
• Hole puncher;
• Mint tape made of organza;
• Pendant metal flower and brads solid metal;
• Satin mint ribbon 25 mm wide;
• Semi-pearl mint;
• Ink green pillow;
• Rose mint latex;
• Stamens and berry in sugar;
• Green cut down leaves;
• Mint lace and white ribbon with roses;
• Double-sided tape, scissors, ruler, glue stick, simple pencil, thermal gun, glue effect of double-sided tape.
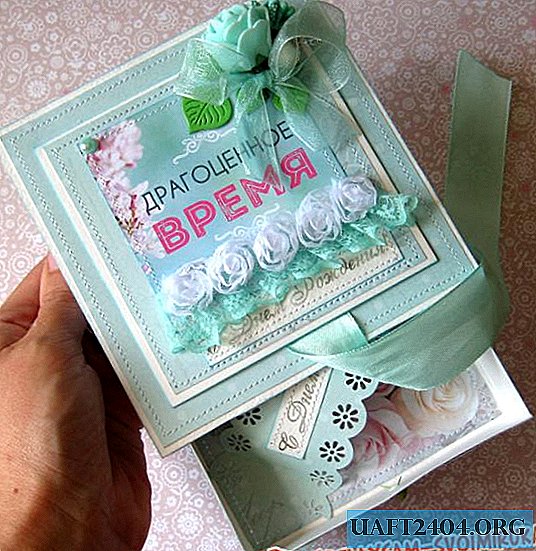

The first thing we start with is cut out all the blanks from watercolor paper. In the diagram, blanks are labeled cardboard. We cut out all one by one, except for two squares 13 * 13 cm.


We take the longest workpiece and divide it according to the scheme into parts. We draw bending lines under the ruler.


Now we divide the blank in 10.5 * 21 cm in half, fold it and we get the top blank, it will be decorated on top and this will be our postcard.


We divide the largest square according to the scheme, cut off the extra corners that are cut off in the shakhtrikhany scheme.


We add the workpiece, this will be our drawer in the future. Glue a long workpiece from one edge.


This will be the outside of our further drawer. We cut out such figures from scrapbook paper.


We glue one square in a box on the bottom on a double-sided tape, two squares glue on simple watercolor squares. We tint all the watercolor blanks around the edges for greater solidity.


We tint the picture. We make a lace strip under which we will lay the money. We cut out two inscriptions, one glue on a strip, the second under the picture.


Sew everything glued on a typewriter. We glue our box on the corners.


We glue the square with the picture on the blank of the card and sew it on the outside, then on the inside we sew it on the square 13 * 13 cm. Cut two strips of satin ribbon, glue it on large squares on top and bottom on tape.


We push the drawer.


We glue the sides of the box, in front we insert a flower on the brads. This will be the handle with which the drawer will extend.


Glue a strip inside the box.


Now glue our box between the squares, a sandwich, so to speak.


Now glue the decorations and you're done!


We get such an interesting box for money! Thank you and see you soon!


Share
Pin
Tweet
Send
Share
Send

