Share
Pin
Tweet
Send
Share
Send
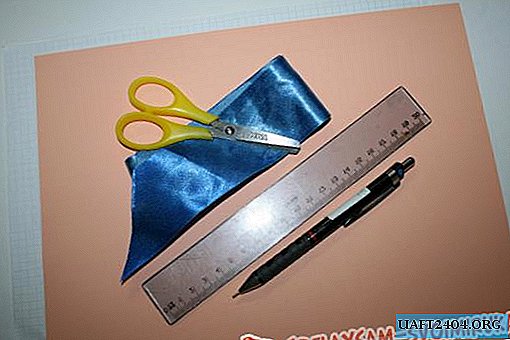
To make the casket we need:
- 4 CD discs.
- Cardboard.
- A pencil.
- Ruler.
- Glue.
- Scissors.
- The cloth.
- A needle.
- Threads in the color of the fabric.
- Household sponge made of foam rubber (sponge for washing dishes).
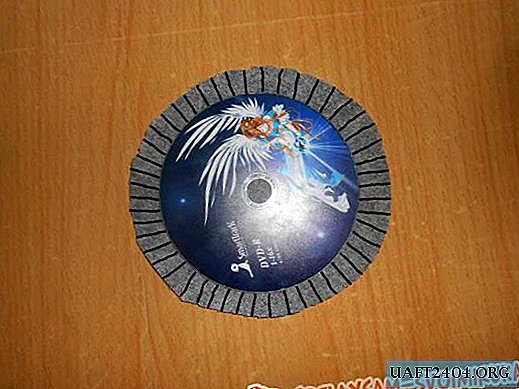
Take the fabric, put it face down on the table, put the disk on top and cut out a circle, taking into account allowances of 1.5-2 centimeters. On the allowance we will make cuts.
We apply glue to the allowance and bend it so that the material sticks to the disk. So do with all drives. It doesn’t matter which side you put the disc on the fabric, it still will not be visible then.
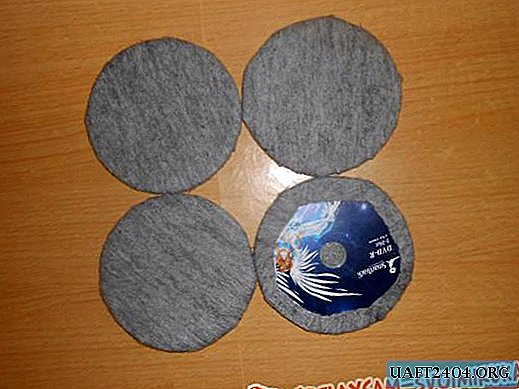
We fold the two discs together so that the material is out. Disks can be glued together, but can be stitched. I used the second method.

This will be the box cover. Put it aside for now. Now we need cardboard. Cut off a strip of the desired height from it. This will be the wall of the box. What will be the height is up to you. I made a height of 8 centimeters plus 1.5 centimeters added to connect to the bottom.

Yes, since I didn’t have the length of the cardboard, I had to add it. Along the allowance line, slightly pressing on the cardboard, draw with scissors and cut the allowance so that we get triangles. Bend them.

Take a cloth and cut a strip from it. The width of the strip should be twice as wide as the width of the cardboard blank (I have a workpiece height of 8 centimeters, so the width of the strip of fabric from me came out 16 centimeters), only the allowance is not taken into account, and the length is exactly along the workpiece.

Now we put glue on the fabric and glue it on cardboard. As a result, you should have the fabric glued on both sides of the cardboard blank, except for the stock.

Now we glue the edges of the workpiece, grease the allowance with glue and glue to one disk. For reliability, all joints can be flashed with a needle and thread. Now the walls are not smooth, but this is solved. To do this, I put a bottle of water inside the casket and left it there until the glue completely dries.

We insert the second disk inside the box so that the fabric on it is outward, so we close the allowance from the cardboard blank.

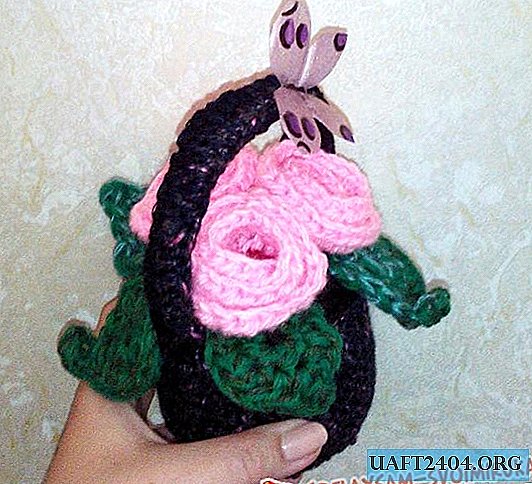
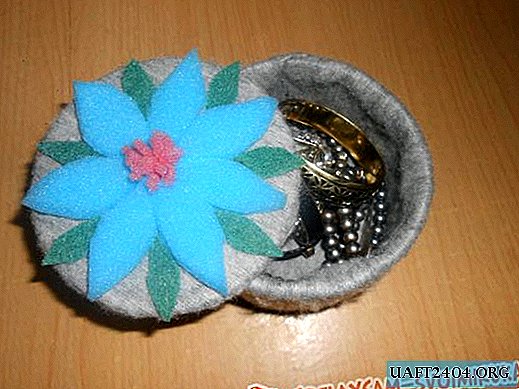
Now it's time to do the cover decor. To do this, take a colored foam sponge and cut out 7 petals for the flower from it. The edges of the petals can be slightly cut with scissors, so the flower will look more beautiful.

Glue the petals to the cover.

Now take a sponge of a different color, I took a red one. Cut a small rectangle from it and cut a fringe from it without cutting it to the edge. Turn it into a tube and glue it in the center of the flower., Fringe up.

From the green sponge we cut out small leaves and stick them between the flower petals.

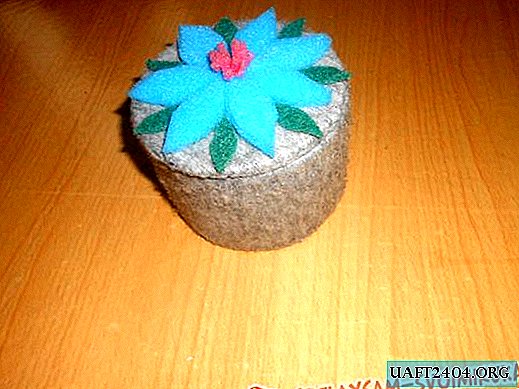
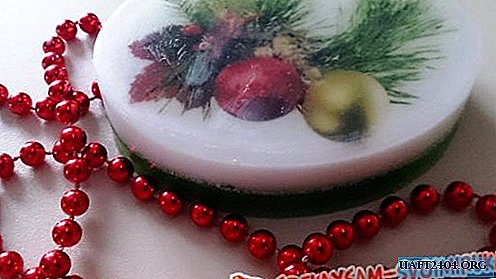
The box is ready, if desired, it can be decorated with beads. Inside, you can store various small things or put a gift inside and use it as a packaging.

Goodbye.
Share
Pin
Tweet
Send
Share
Send