Share
Pin
Tweet
Send
Share
Send
So:
1. I took such a sample, using the GIMP program I identified the contours and erased the center
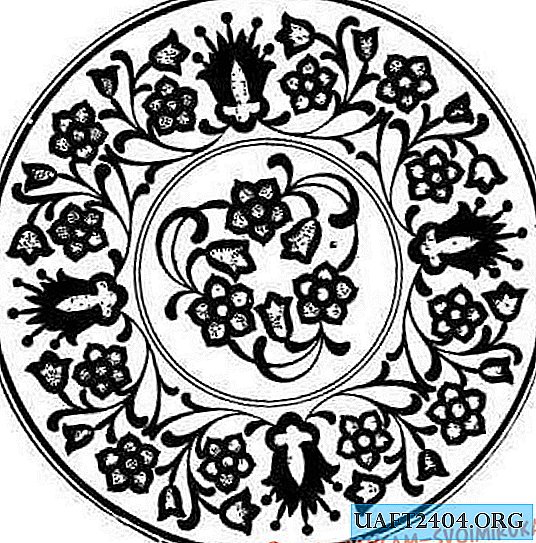
and this is what happened:

2. Next, I printed a leaf with an ornament, cut a white circle without an ornament inside and cut it into 8 parts to achieve the best fit to the surface of the plate:

I glued each part from the outer surface with tape.
3. It would be very boring to make an ornament in one color, so I decided to paint a plate in three colors: blue, red and green. First, I drew a permanent marker on patterned paper, then on a plate and applied glitter on top. Markers were the cheapest M-Union, so there was no complete staining of the pattern, it became translucent, and I just need this - the glitters shone through the pattern! She applied glitter and got such an ornament:

4. Now it's the turn of the internal pattern! Since the initial three-color pattern seemed rather banal and boring to me, it was decided to make the inner pattern from one element: I reflected and copied the element in the same GIMP program, combined and flattened it a bit, and then selected the edge, like this:

5. I also printed and painted it in three colors, then attached it on the inside of the plate and translated it with permanent markers and glitter on top.

6. In conclusion, I found that the edges of the ornament look somewhat vague and therefore circled more clearly and thinly (which is important for the stroke) with a black Centropen marker.

Here's what happened:


In principle, you can cover the pattern with varnish for glass products and bake so that the plate can be used and washed. But as a decorative plate and as a vase for sweets, you can also use it!
Share
Pin
Tweet
Send
Share
Send

