Share
Pin
Tweet
Send
Share
Send
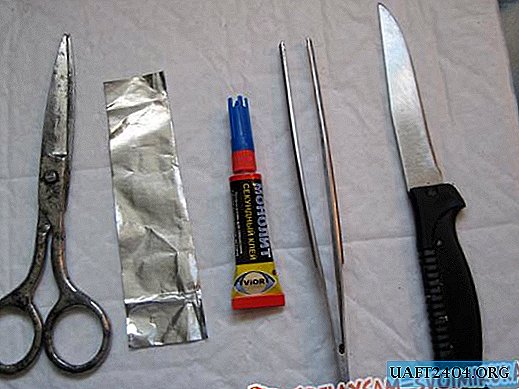
To repair the console, we need scissors, a knife, tweezers, Monolith glue and cigarette foil.
We remove the batteries from the remote control. With a knife, carefully divide the remote into two halves. The halves of the remote control are usually fixed with these latches.

Next, remove the board and block of rubber buttons. Using a wet towel, we clean them from contamination.
From foil we cut squares to the size of the contact pads.

We put a little glue on the conductive coating and, taking a small square with tweezers, glue it.

Our remote control does not use five buttons. Therefore, it is not necessary to glue foil on them.


Next, we assemble the remote control. We insert the batteries, observing the polarity, and check the operation of all buttons.

Using this method, the operability of many remote controllers of various radio equipment was restored. A repeated defect appears after about a year. It will restore the buttons again by tearing off the old foil and gluing a new one. And one more tip. To check the operation of the remote control, you need to direct the lens of any digital camera to the infrared LED of the remote control and press any button. If the LED blinks, then with great confidence we can assume that the remote control is working.

If we do not see blinking, then the remote control is not working.

Share
Pin
Tweet
Send
Share
Send

