Share
Pin
Tweet
Send
Share
Send
A child can make such a box, there is nothing complicated. But, of course, most of all he will like to decorate it to his taste.
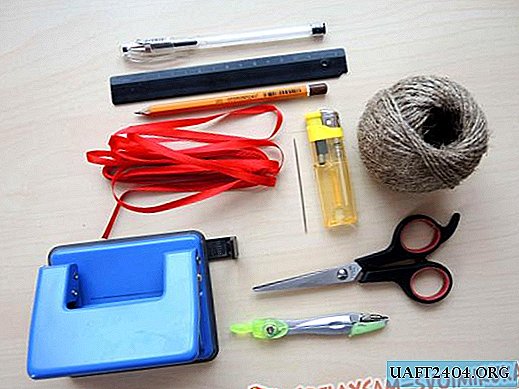
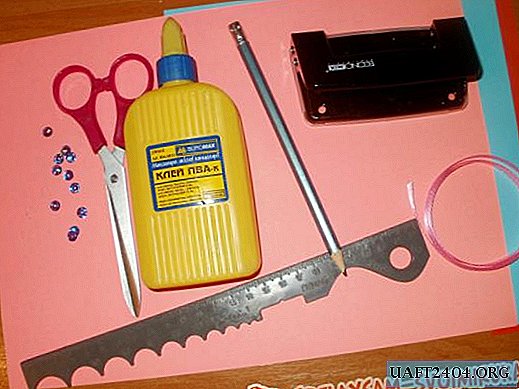
Materials and tools:
• color cardboard (blue);
• PVA glue";
• colored paper (pink, red);
• pencil, ruler;
• hole puncher;
• sequins (purple);
• narrow ribbon (pink);
• scissors.
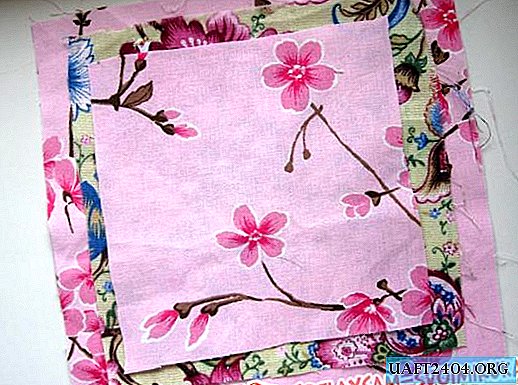
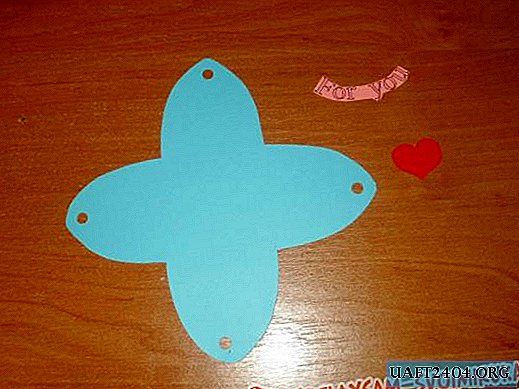
1. First we make a scan for our future box. It is best to use double-sided cardboard, but you can also use plain color cardboard or heavy paper. On a blue cardboard, draw a pencil with a square with a side of 5 cm and four sides of a height of 5 cm. We also mark the places for the holes. By dashes we show the places of the folds of the box.

2. Cut the scan with scissors, make holes in the marked places with a hole punch.

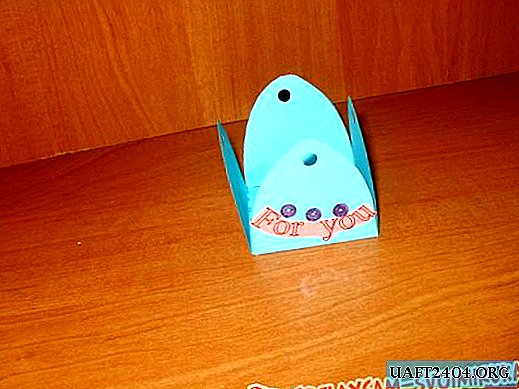
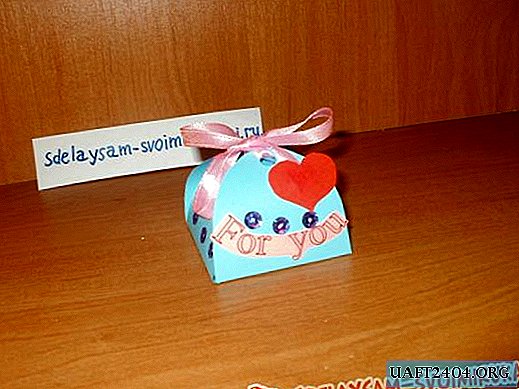
3. Proceed to decorate the gift boxes. We print on the printer (or write by hand) the inscription For you (For you). Cut letters from pink paper. Cut out a small heart from red paper.
4. Glue a red heart on the side that will be in front. We place the inscription below, just above the fold line.

5. Next, decorate the box with sequins. On the side with the inscription we glue a few pieces just above the letters. On the other three sides we glue four in random order. Put a drop of glue on the sequin and press it on the cardboard for a few seconds.

6. After decorating the boxes with sequins. We proceed to its assembly. We bend each side inwards along the previously marked dashed lines. In order for the cardboard to bend accurately and evenly along the lines, not break, you must first attach the ruler to the lines and draw a tip of scissors along them. If you use this method, you get neat folds.
7. Now you need to tie a gift box, but before that, do not forget to put a gift! We do it as follows. Fold the opposite side parts and thread the ribbon, tie it to a knot. After that, each end of the ribbon is again pushed into the opposite side parts and tied to a bow.

8. The final touch in the decoration of the box is the red heart. We attach it to the end of the knotted ribbon with glue. Apply glue to the heart.
9. You can decorate the box in many ways. For example, use baby stickers. This is very easy to do, without spending a lot of time. Such a gift box will definitely please the child.

You can paint a gift box, make a pattern with pencils, felt-tip pens or paints, stamp with children's stamps. It all depends on your imagination and abilities.
Share
Pin
Tweet
Send
Share
Send