Share
Pin
Tweet
Send
Share
Send
So this time, we will consider the topic of altering a failed energy-saving lamp into an LED. Today we will take a more traditional path using the driver for the LED, but ... The most interesting part of the alteration is the LED itself.
The other day, I got into the hands of several samples of the Chinese electronic industry. These LEDs themselves are interesting, although they do not have outstanding characteristics. But the fact that this LED provides a circular pattern, raises it to a whole new level and gives us the perfect tool for modernizing lighting systems.

As a radiator, I used the AP888 aluminum universal profile manufactured by Yug-Service LLC, already known from the previous article. Unfortunately, I only had a piece of trim a little over 10 mm thick. There was a fear that for a 9 W LED it might not be enough. But the desire to conduct an experiment won.
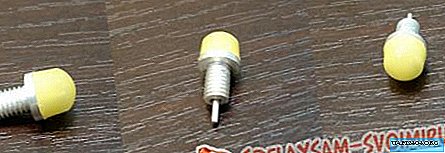
A small drawback of this profile with respect to the new LED is the central hole with a diameter of 8 mm, and the thread of the “tail” of the M6 LED.
The output is the simplest:
- drill a hole up to 10 mm;
- screw the bolt into the M6 nut;
- gently, striking the bolt head with a hammer, we press the nut into the profile. A bolt is needed in order not to accidentally jam the threads in the nut.


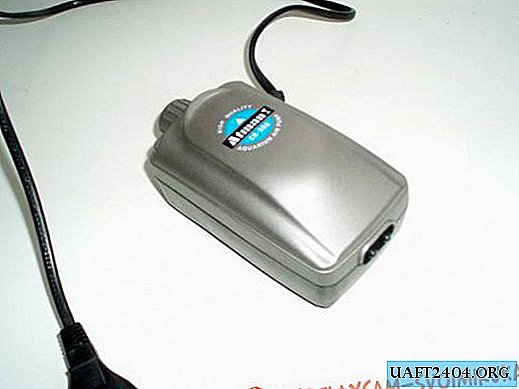
7V LED, power 7-9 W, 12 V, 600-800 mA. As a driver, I used the widespread 700 mA driver for three LEDs of the same Chinese manufacture.
Further, as always, everything is simple. We know how to disassemble an energy-saving light bulb, the main thing is not to break the flask. And we are preparing the entire assembly kit.

1. Drill holes in the cap of the base for mounting the radiator and wire.

2. Solder the driver wire to the center pin of the LED. Do not forget to advance it through the radiator and the cap of the base.

3. Apply heat-conducting paste (KTP-8) to the LED thread and screw it into place. We fix the cap of the base to the radiator.


4. The negative wire of the driver must be connected to the radiator.

5. Solder the driver network wires into the base.

6. Put it all together.

7. The upgraded lamp is ready for use.


As for my concerns about the overheating of the LED due to the insufficient size of the radiator, we can say that they turned out to be baseless. After several hours of operation, the temperature at the “LED-radiator” point stopped in the region of 59-62 ºС (ambient temperature 23 ºС). In principle, it is permissible, but if the radiator is increased by 5-10 mm, then you can not worry about anything at all.
Everything is simple, beautiful and most importantly - affordable and not expensive.
Share
Pin
Tweet
Send
Share
Send